- Install AD Reports
- Uninstall AD Reports
- Register AD Reports
- Run a report
- Run Azure User Reports
- Azure Authentication Settings
- Create Custom Azure Reports
- Create Custom Reports
- Use Report Wizard
- Apply LDAP Filter to other Reports
- Save Reports for All Domains
- Load User Membership
- Load Group Members
- Generate a report: Users in Group
- Generate a report: Users Not in Group
- Run a report with not-replicated attributes
- Export a report
- Preview, Print, Email
- Add, Edit Domain
- Update Domain Credentials
- Schedule Reports
- Use Scheduler Service
- Test Scheduler Service
- Exclude Domain Controllers
- Add Company Logo
- Set Email Settings
- Save and Load Report Settings
- Enable High DPI Support
How to add a company logo
1. Open Company Logo form:
To access Logo settings, click on the Application Settings button in the ribbon toolbar and go to the Company Logo page.

Company Logo page will be displayed.
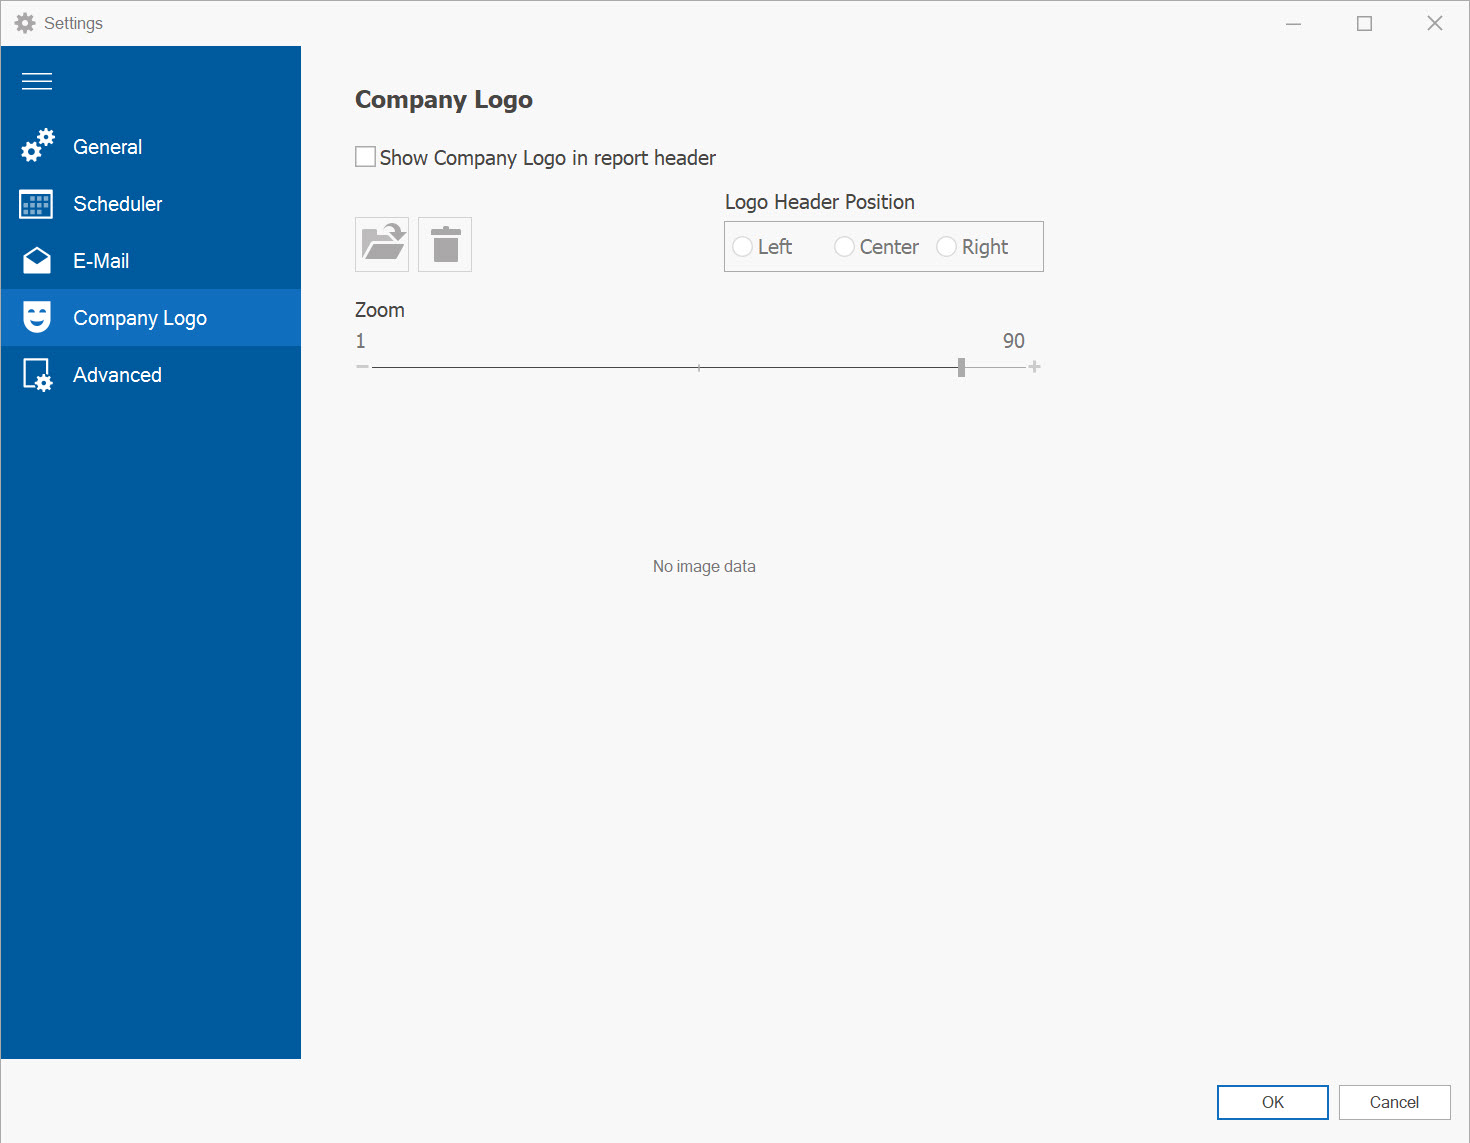
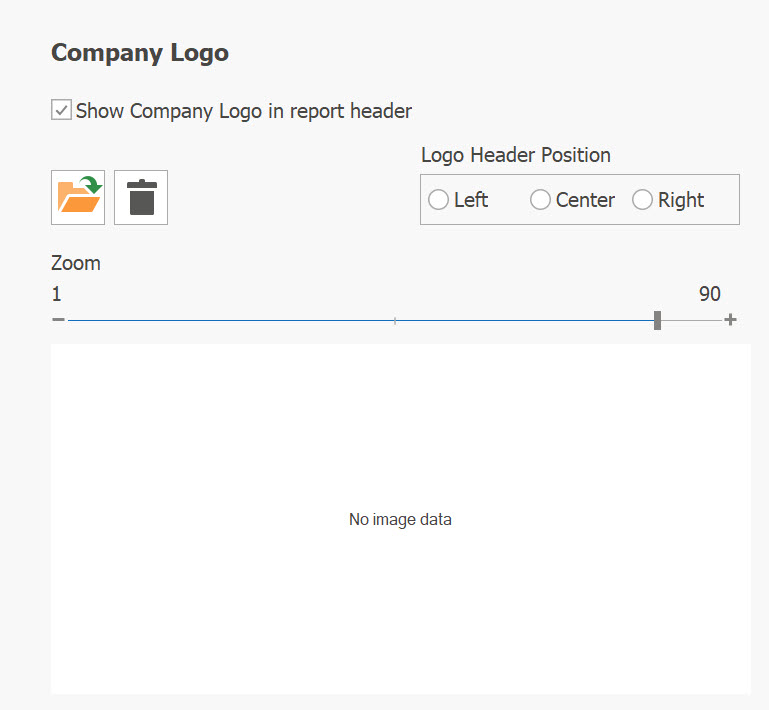
2. Select Show Company Logo in report header check box
By performing this action, all form controls will be enabled, and a chosen logo will be added to the report header.
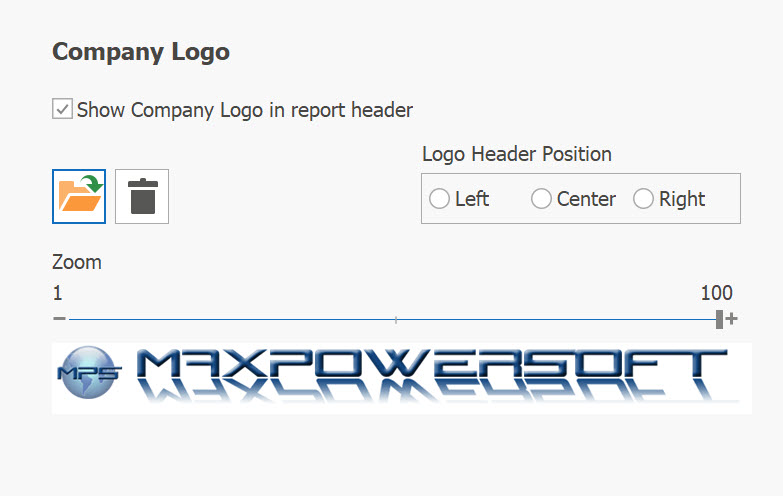
3. Add Logo Image
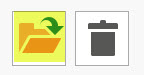
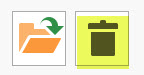
To insert a company logo image, select the "Load Logo image file" button from the toolbar.
Choose a company logo image file from the "Add Logo Image" dialog box, then click the "Open" button. The selected image will be loaded into the "Selected Logo Image" placeholder.
4. Resize Logo Image
Adjust the image size by dragging the "sizing grip" to the desired dimensions.
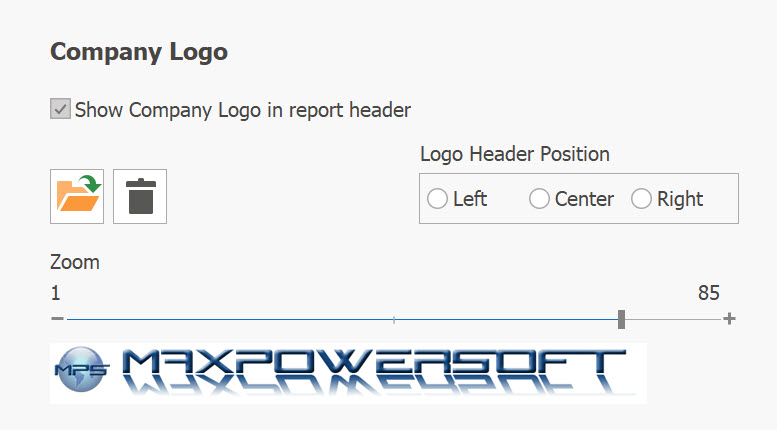
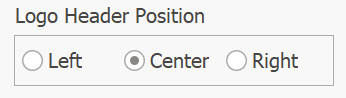
5. Select Logo position in the report header
You have the option to select the position of the logo within the report header.
Once you have completed all the desired modifications, click the "OK" button to apply the changes.
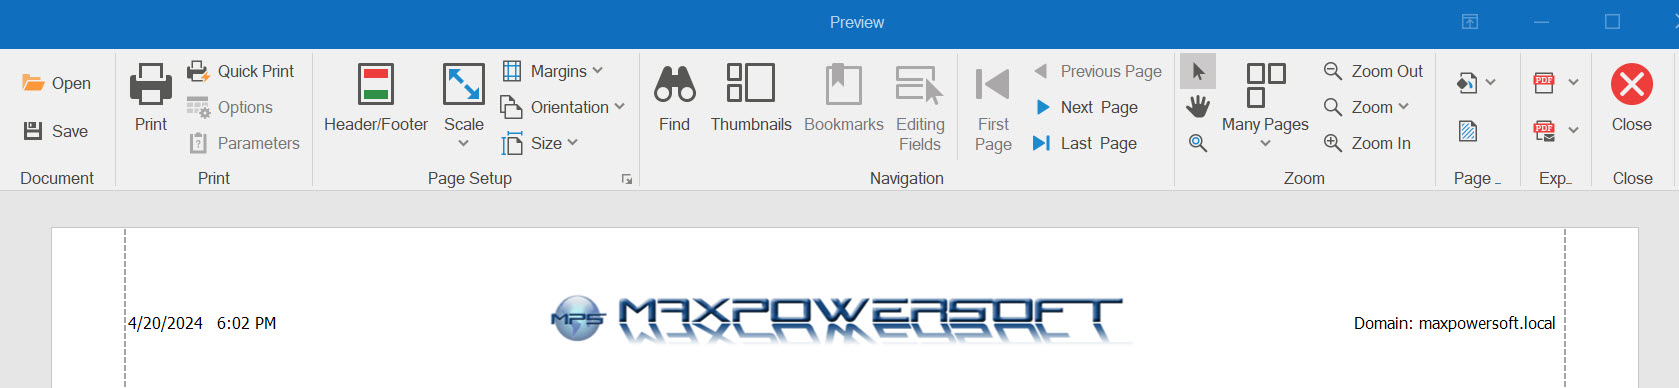
6. Preview your report
Export to PDF:

Export to Excel:

7. Remove Company Logo from the report header
To stop displaying the company logo image in the report header, uncheck the Show Company Logo in report header checkbox and click the OK button. This action will hide the logo from the report header, but the selected image file will not be deleted.
If you wish to completely remove the logo image and no longer display it, simply click the Remove Selected Logo button from the toolbar
 and click OK button.
If you have any further questions or require any assistance, please do not hesitate to contact us. We are here to help Contact us.