- Install AD Reports
- Uninstall AD Reports
- Register AD Reports
- Run a report
- Run a report with not-replicated attributes
- Export a report
- Preview, Print, Email
- Add, Edit Domain
- Update Domain Credentials
- Schedule Reports
- Use Scheduler Service
- Test Scheduler Service
- Exclude Domain Controllers
- Create Custom Reports
- Use Report Wizard
- Load User Membership
- Load Group Members
- Add Company Logo
- Set Email Settings
- Save and Load Report Settings
- Enable High DPI Support
How to Test Scheduler Windows Service
Before starting the Scheduler Windows Service, run a test to ensure the account you've chosen has sufficient permissions to access Active Directory:
Open Scheduler Service dialog as desribed in How to use Scheduler Windows Service
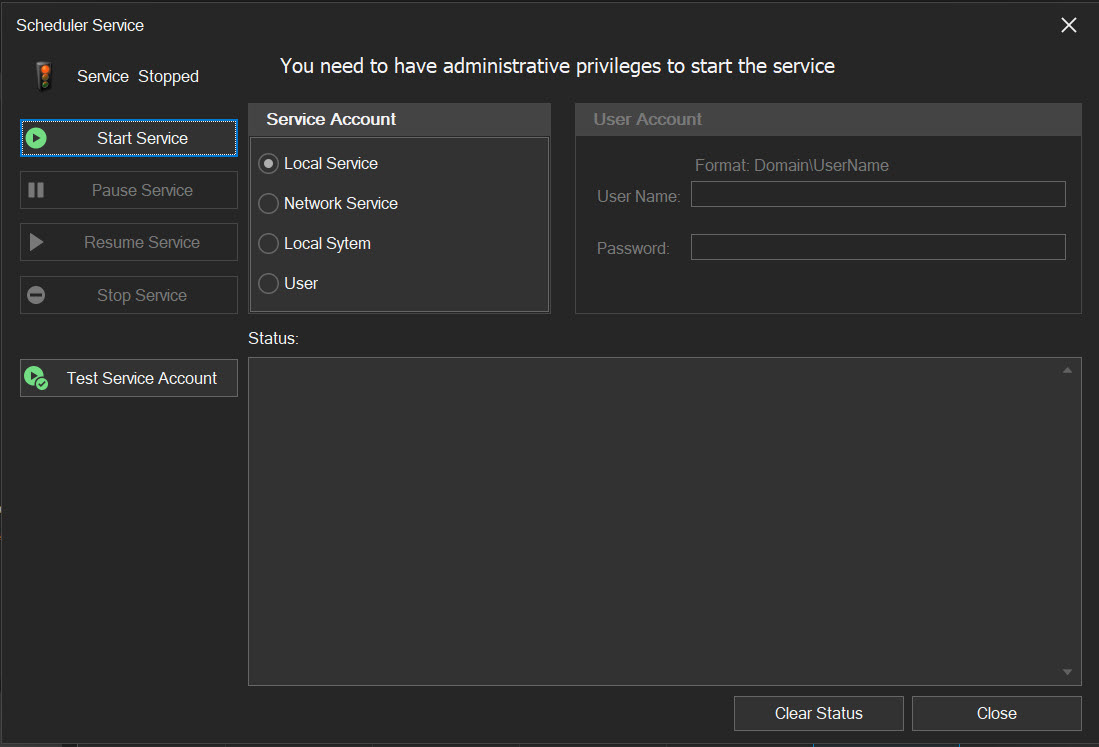
Choose an account to initiate the service, then click the "Test Service Account" button.
If the chosen account lacks the necessary permissions to access Active Directory, an error message will appear in the status log window and a "Failed" status will show up under the "Test Service Account" button. You'll either need to grant this account the required permissions or pick a different account.
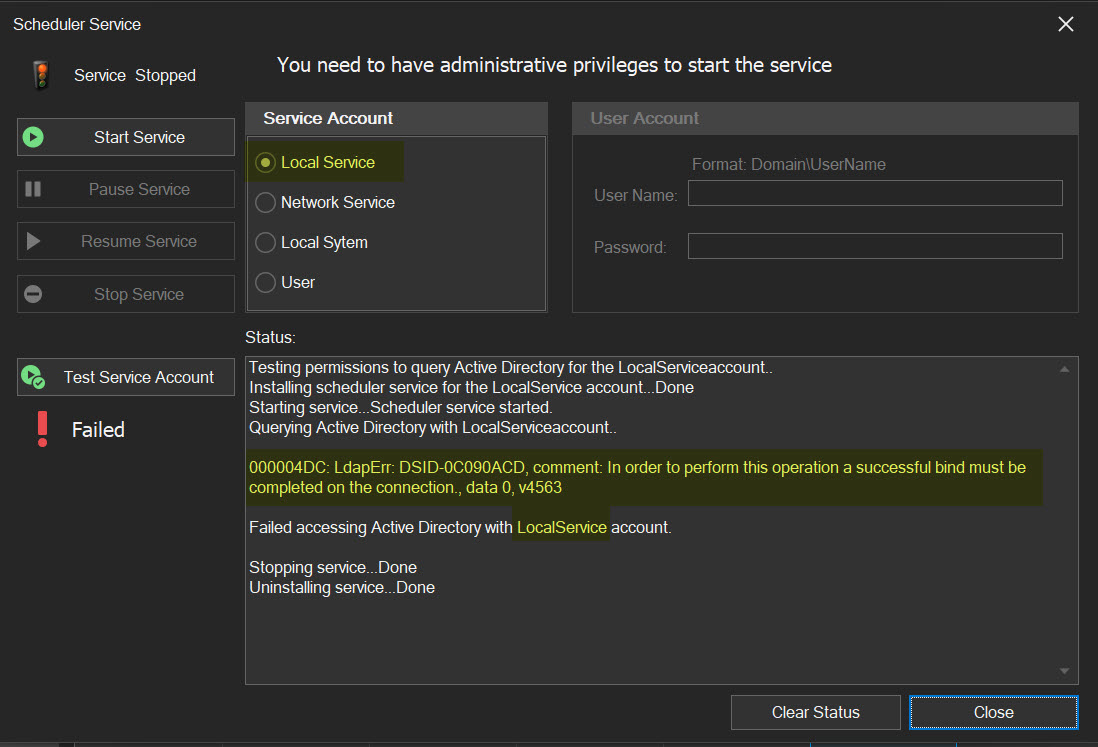
Choose the "Network Service" account this time and give it another try.

It worked this time. This feature should assist you in deciding which account to use for initiating the scheduler service, preventing missed reports later on. You can now go ahead and start the service.
How to use Scheduler Windows ServiceIf you have any inquiries or encounter any difficulties while scheduling reports, please feel free to contact us for assistance Contact us.