- Install AD Reports
- Uninstall AD Reports
- Register AD Reports
- Run a report
- Run Azure User Reports
- Azure Authentication Settings
- Create Custom Azure Reports
- Create Custom Reports
- Use Report Wizard
- Apply LDAP Filter to other Reports
- Save Reports for All Domains
- Load User Membership
- Load Group Members
- Generate a report: Users in Group
- Generate a report: Users Not in Group
- Run a report with not-replicated attributes
- Export a report
- Preview, Print, Email
- Add, Edit Domain
- Update Domain Credentials
- Schedule Reports
- Use Scheduler Service
- Test Scheduler Service
- Exclude Domain Controllers
- Add Company Logo
- Set Email Settings
- Save and Load Report Settings
- Enable High DPI Support
How to use Scheduler Windows Service
Before starting the Scheduler Windows Service, run a test to ensure the account you've chosen has sufficient permissions to access Active Directory: How to Test Scheduler Windows Service
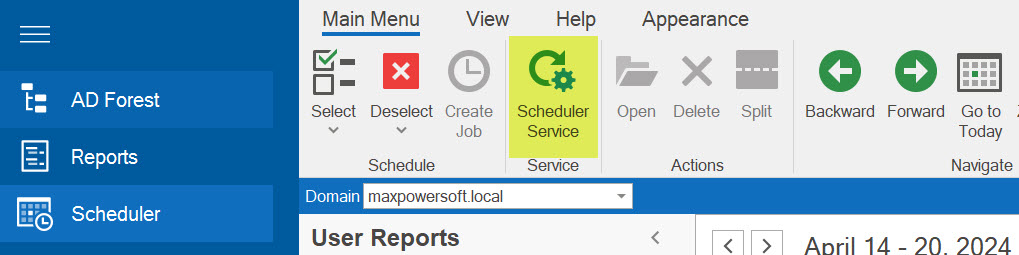
To open the Windows service dialog, click on the Scheduler Service button or the Scheduler Service icon located in the bottom right corner of the application.

Alternatively, you can open it by clicking on the Scheduler Service button from the Scheduler Main Menu.
The window for the Scheduler Service will appear.
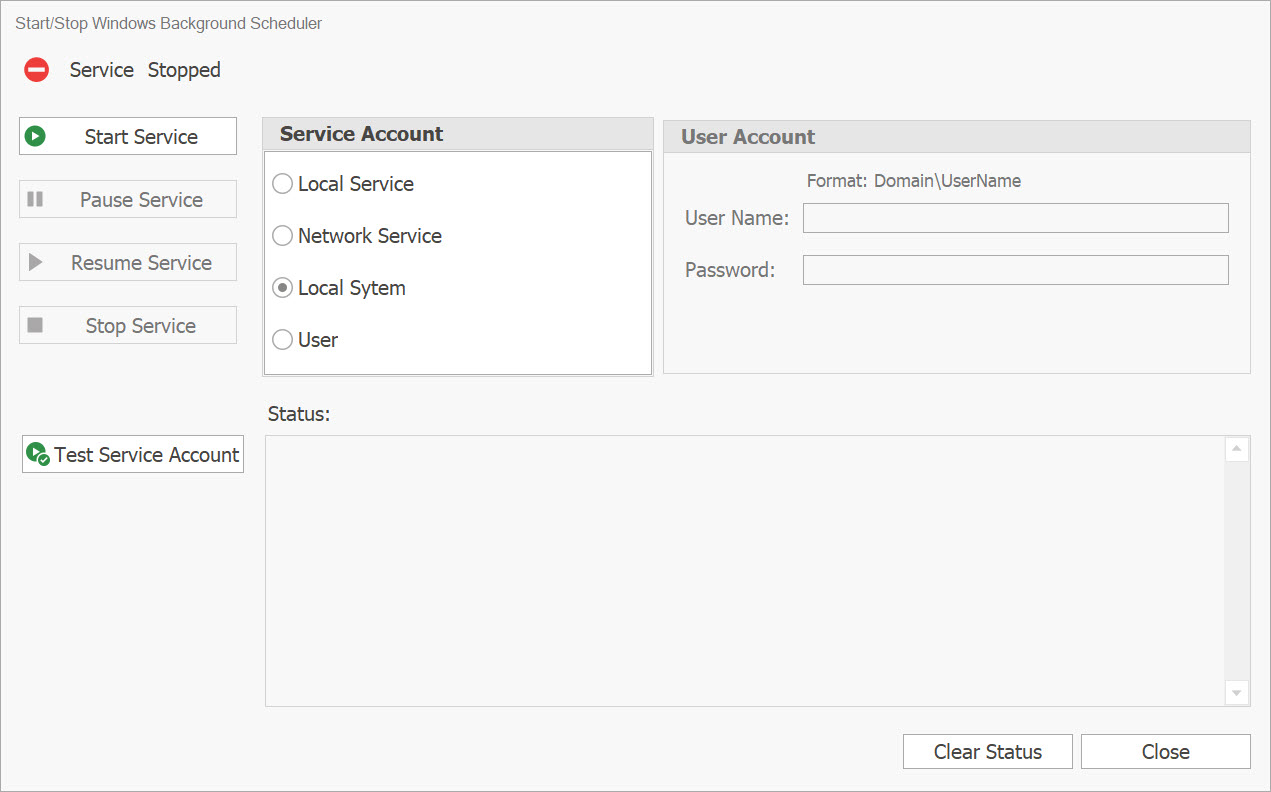
The Scheduler Service is initially in a Stopped state by default.
To activate the Scheduler as a Windows Service, click the Start Service button.
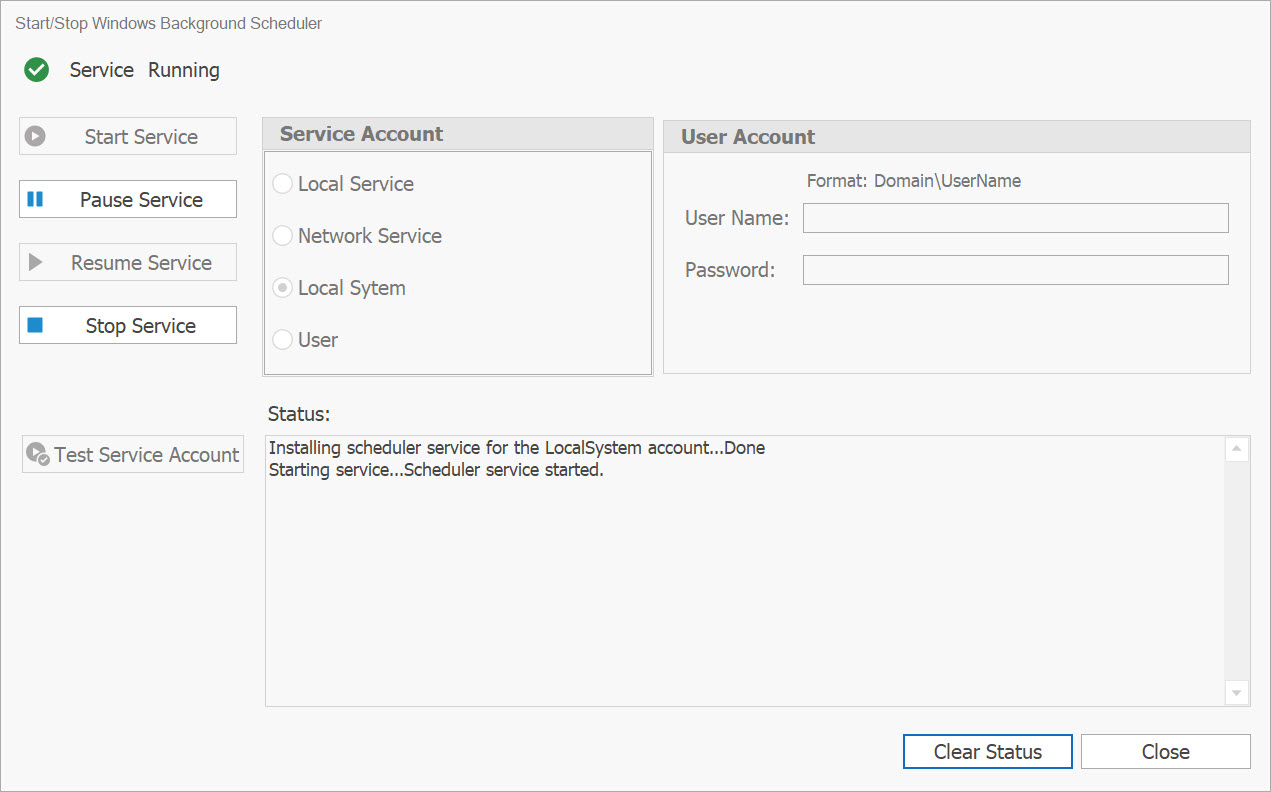
The AD Reports Scheduler service should be visible within the list of currently active Services.

The internal scheduler service will be deactivated, allowing all scheduled reports to run independently through a separate AD Reports Scheduler windows service. It is now safe to close the application.
If the background Scheduler Windows Service is in the Running state, an indicator will appear in the bottom right corner of the main window for the AD Reports application.

To stop the Scheduler windows service and activate the internal application scheduler service in AD Reports, follow these steps:
- Open the Scheduler Service dialog
- Click on the Stop Service button
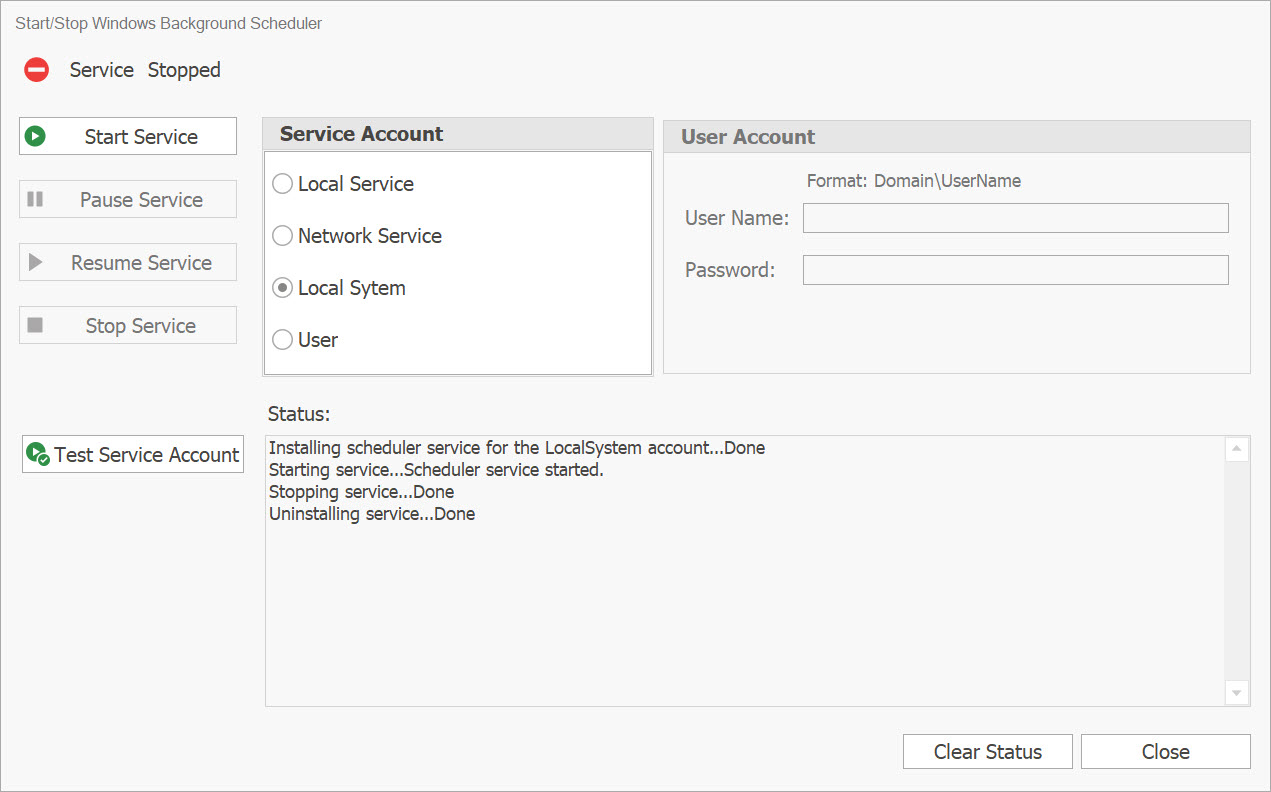
The service indicator will change to a Stopped status.
If you have any inquiries or encounter any difficulties while scheduling reports, please feel free to contact us for assistance Contact us.