- Install AD Reports
- Uninstall AD Reports
- Register AD Reports
- Run a report
- Run Azure User Reports
- Azure Authentication Settings
- Create Custom Azure Reports
- Create Custom Reports
- Use Report Wizard
- Apply LDAP Filter to other Reports
- Save Reports for All Domains
- Load User Membership
- Load Group Members
- Generate a report: Users in Group
- Generate a report: Users Not in Group
- Run a report with not-replicated attributes
- Export a report
- Preview, Print, Email
- Add, Edit Domain
- Update Domain Credentials
- Schedule Reports
- Use Scheduler Service
- Test Scheduler Service
- Exclude Domain Controllers
- Add Company Logo
- Set Email Settings
- Save and Load Report Settings
- Enable High DPI Support
How To Install AD Reports
Before installing the new version, it is recommended to perform a clean uninstall first, as described in:
How to do a Clean Uninstall of AD Reports.
When a new version is available, the title bar will show "New Version is available: | Download." Click the Download button to begin downloading the new version, which will be saved to the Downloads folder.

Once the download is finished, the "Download" button will switch to "Ready to Install."

Before installing the new version, please ensure that the Scheduler Service is stopped if it is running. The status of the Scheduler Service is shown in the bottom right corner of the application. If the status indicates anything other than "Stopped," the service must be stopped before proceeding with the installation.

How to Stop and Uninstall Scheduler Service
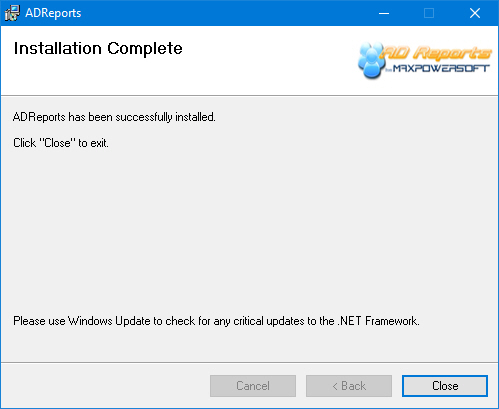
Once the uninstallation process is finished, you can proceed with the installation of the new version.


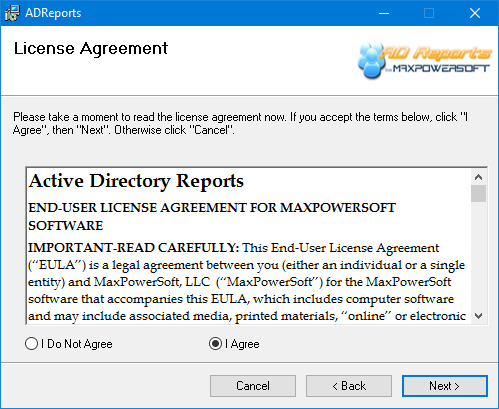
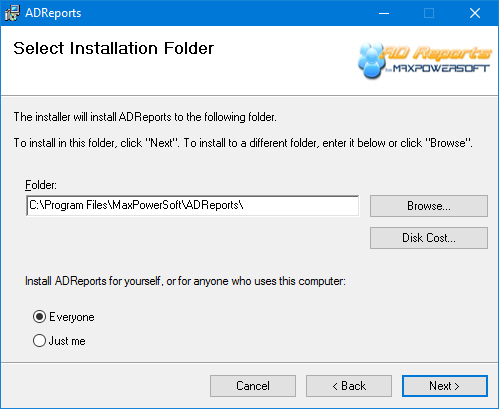
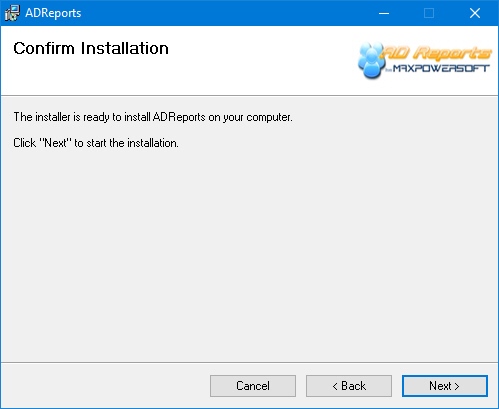
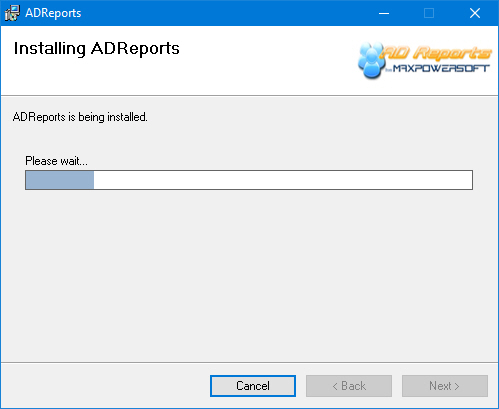
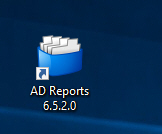
An icon for AD Reports will be generated on your desktop for easy access.
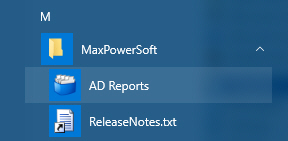
In addition to being created on your desktop, AD Reports will also be added to your Start menu for convenient accessibility.
If you encounter any difficulties during the installation process, please do not hesitate to reach out to us for assistance. Our team is available to provide support and address any installation-related concerns you may have Contact us