How to Schedule Reports
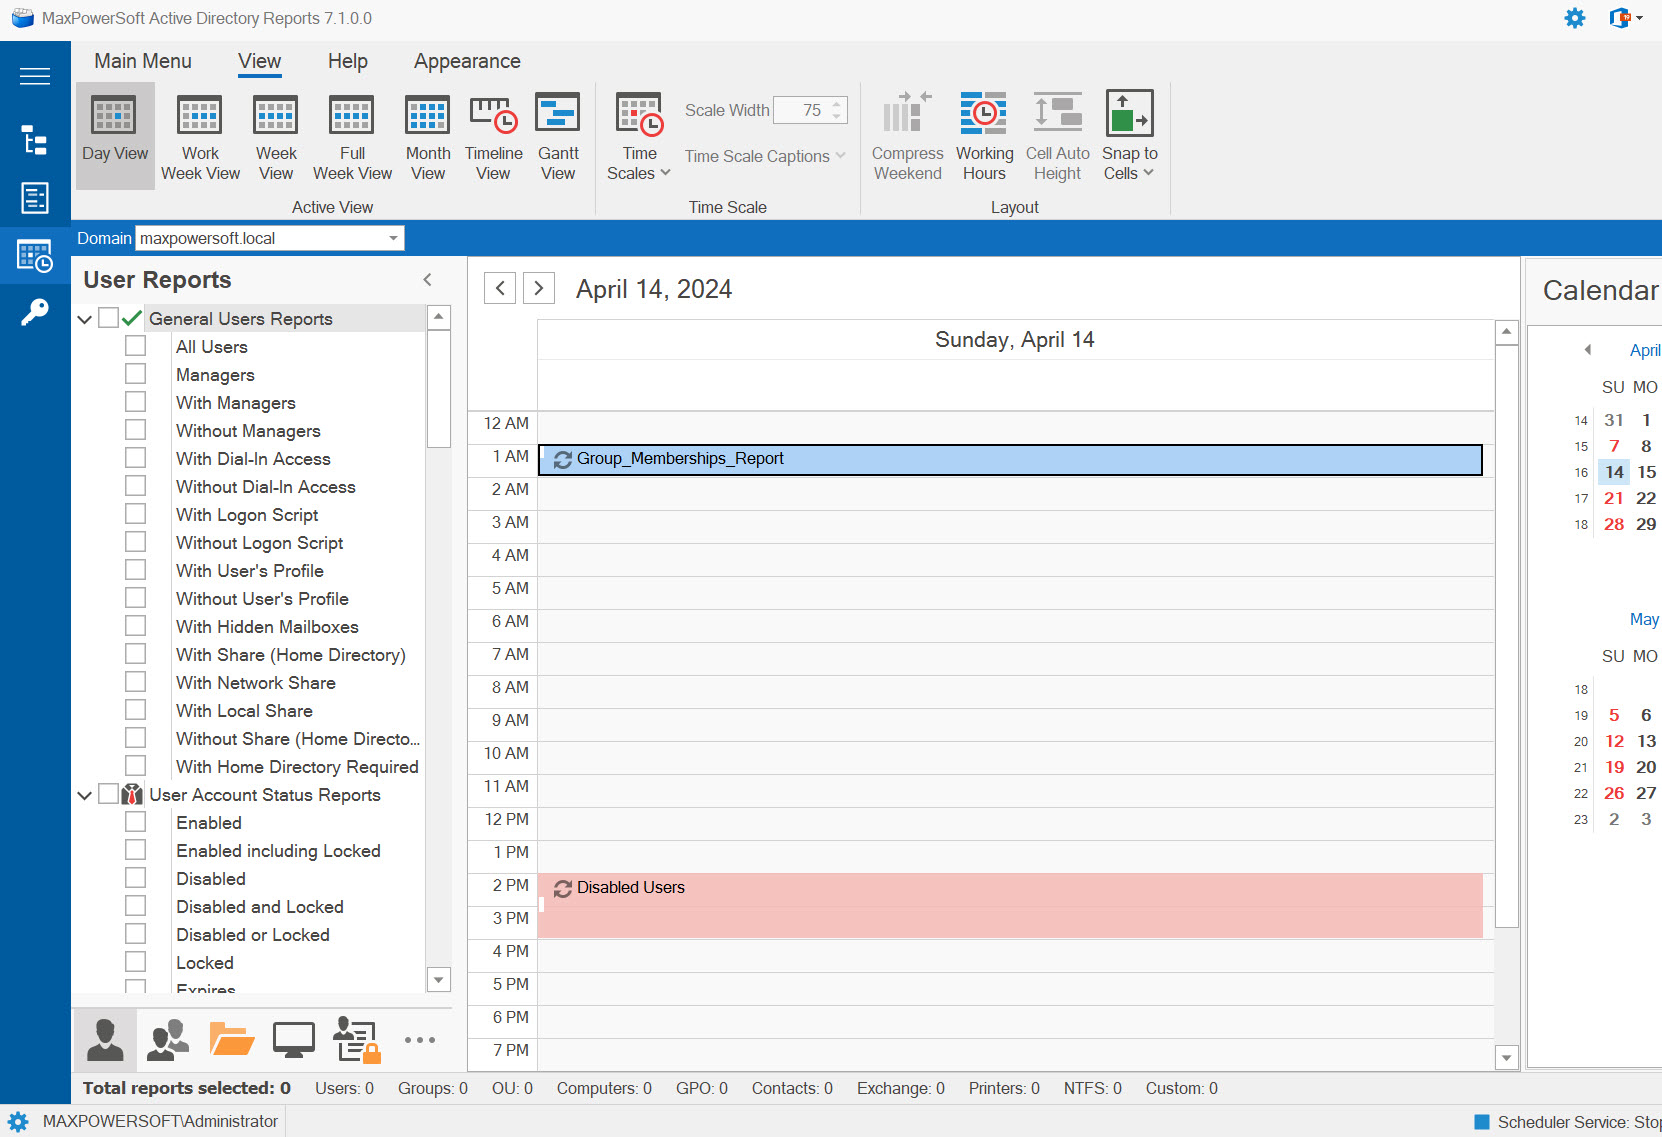
To access the Scheduler feature, click on the Scheduler button found on the left-side menu. The Scheduler window will open. You can select different views, ranging from Daily through Monthly, based on your preference.
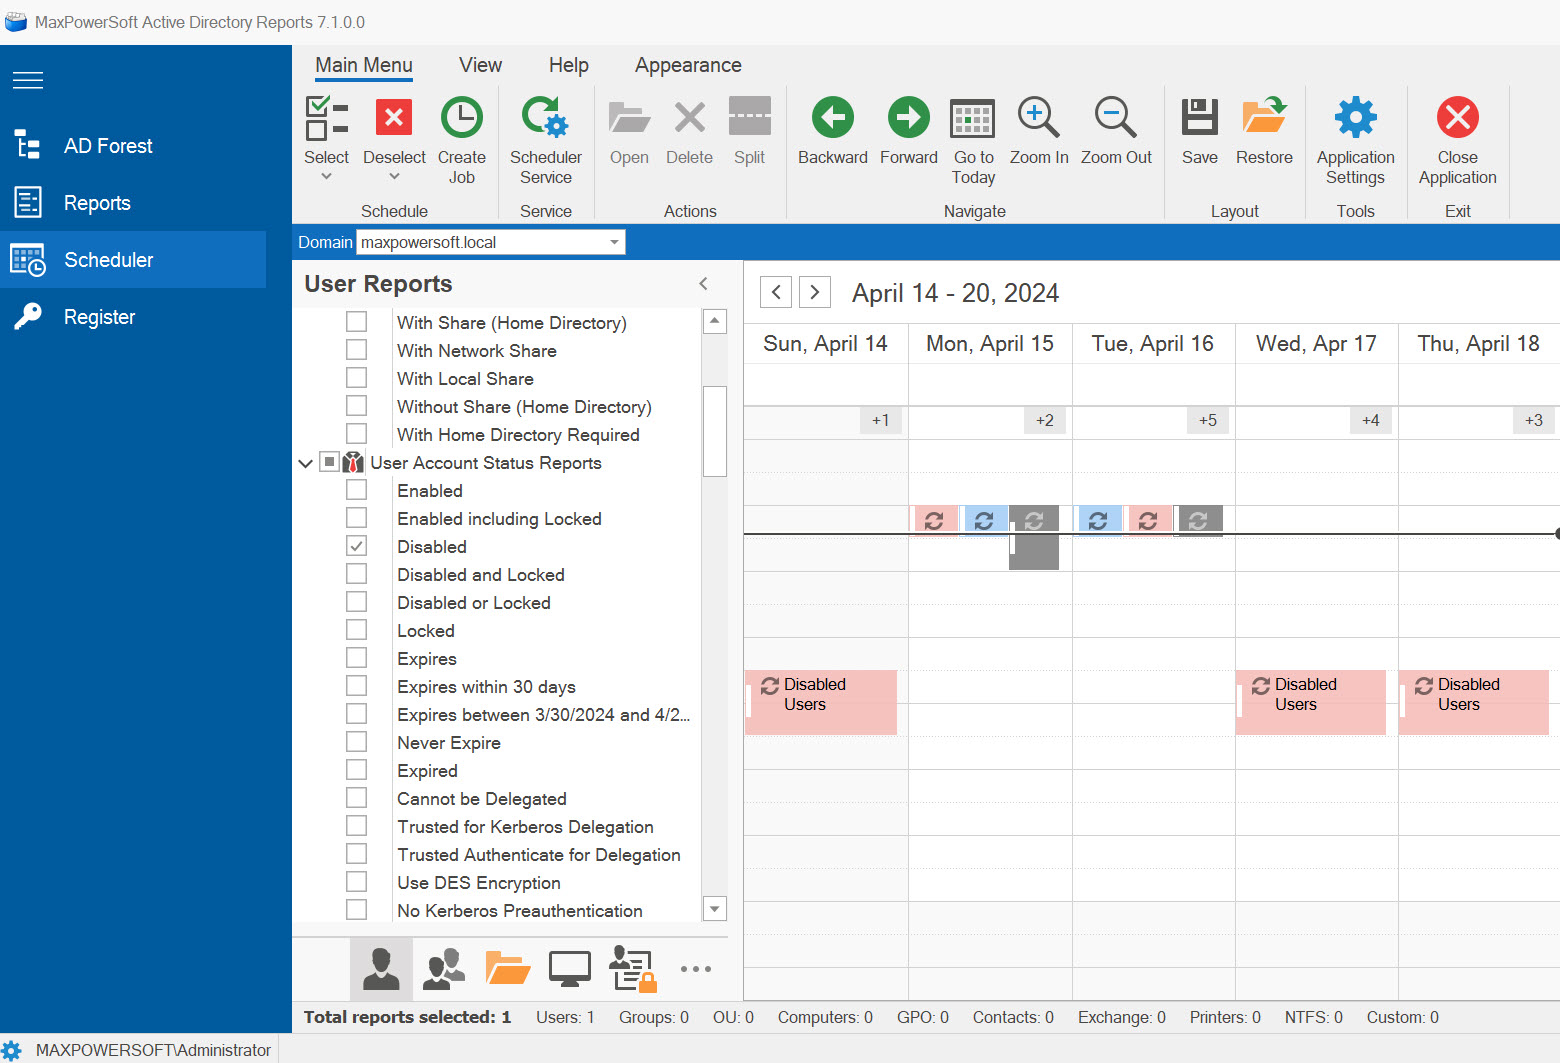
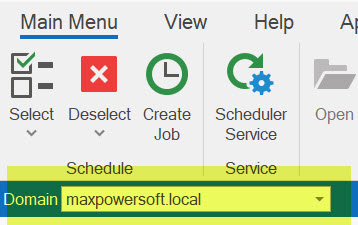
To select a domain from which to run the report(s), access the toolbar drop-down menu and choose the desired domain name. The current domain will be set as the default option.
There are two distinct approaches available to schedule a report job.
Quick Schedule (Drag and Drop)
Select the desired report(s) from the report tree and drag them to the desired date and time slot on the scheduler interface.
A confirmation window will appear, displaying the selected date and time for the scheduled report job.
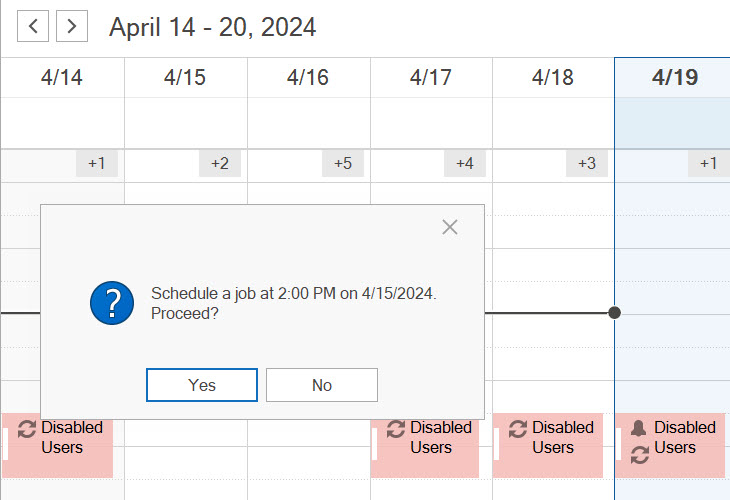
To initiate the scheduling process, click on the Yes button. This will prompt the scheduler to begin creating the scheduled job accordingly.

Once the scheduled job is successfully created, you will notice a new icon being displayed within the scheduler window.
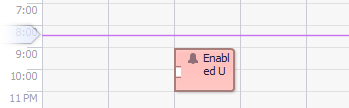
Upon completion, the job will be successfully created and will execute as scheduled. If you wish to modify the job settings, simply double-click on the job icon.
Customized Schedule
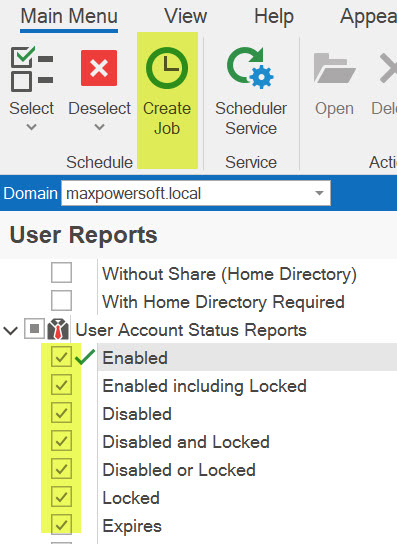
An alternative method for scheduling a report is to utilize the Create Job button on the toolbar. This option provides the ability to modify various parameters of the report job.
- Choose the report(s) you wish to schedule from the report tree. (Note: You can schedule multiple reports for the same date and time, but all report jobs will share the same parameters.)
- Click on the Create Job button located on the toolbar.
- This action will prompt the appearance of the customizable scheduler screen.

Within this window, you have the option to modify various settings: change the domain, set the start date and time, indicate whether to export membership, modify the subject and description, select file formats (.csv, .txt, .xls, .xlsx, .rtf, .pdf, .html, .mht), choose a report file name mask, and adjust formatting settings.
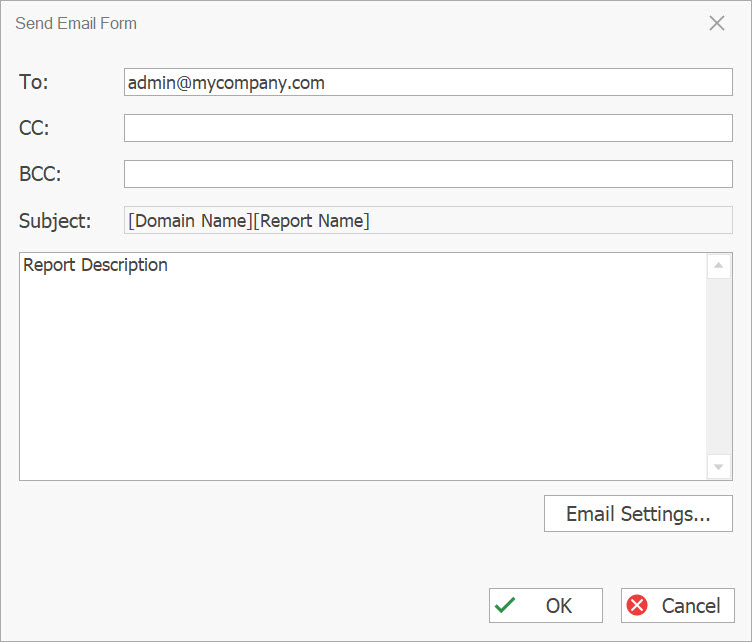
If you wish to send your report via email, simply check the Send reports via Email checkbox and enter the recipient's email address(es) in the "To:" field. You can include multiple email addresses by separating them with commas.
To enable the email functionality, it is important to configure the email settings beforehand (How to set e-mail settings).
If you prefer to open an email form, you can do so by clicking on the Email Form button.
To set the job to recur periodically, click on the Recurrence button located at the bottom of the "Create Scheduler Job" screen.

The Recurrence window will be displayed.
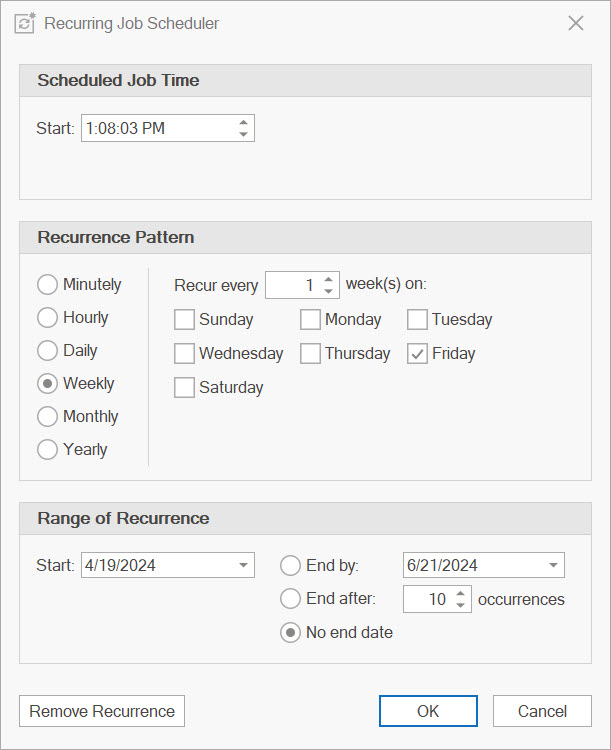
Within this window, you can schedule the job to run on a daily, weekly, monthly, or yearly basis. If necessary, you can even set it to run hourly. You can also define a specific date range and specify the number of occurrences.
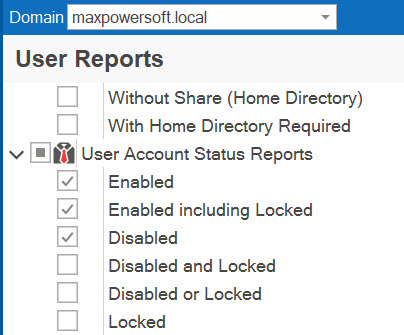
Selecting Reports
To select or unselect a specific report section, simply click on the parent node of that particular section.
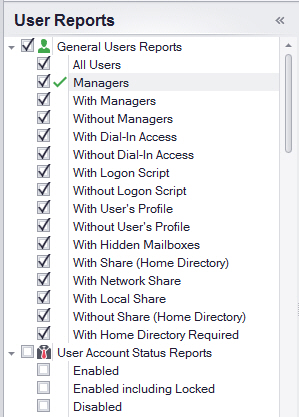
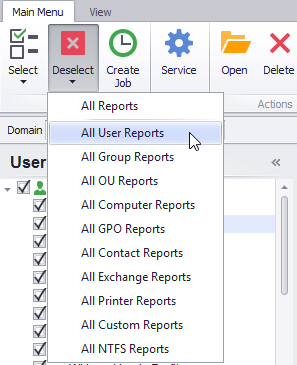
Additionally, you can select or deselect an entire report category using the Select (All) and Deselect (All) buttons on the toolbar.

You can keep track of your selected reports by referring to the status bar, which displays the number of selected reports along with their corresponding report types.

Change Scheduler View
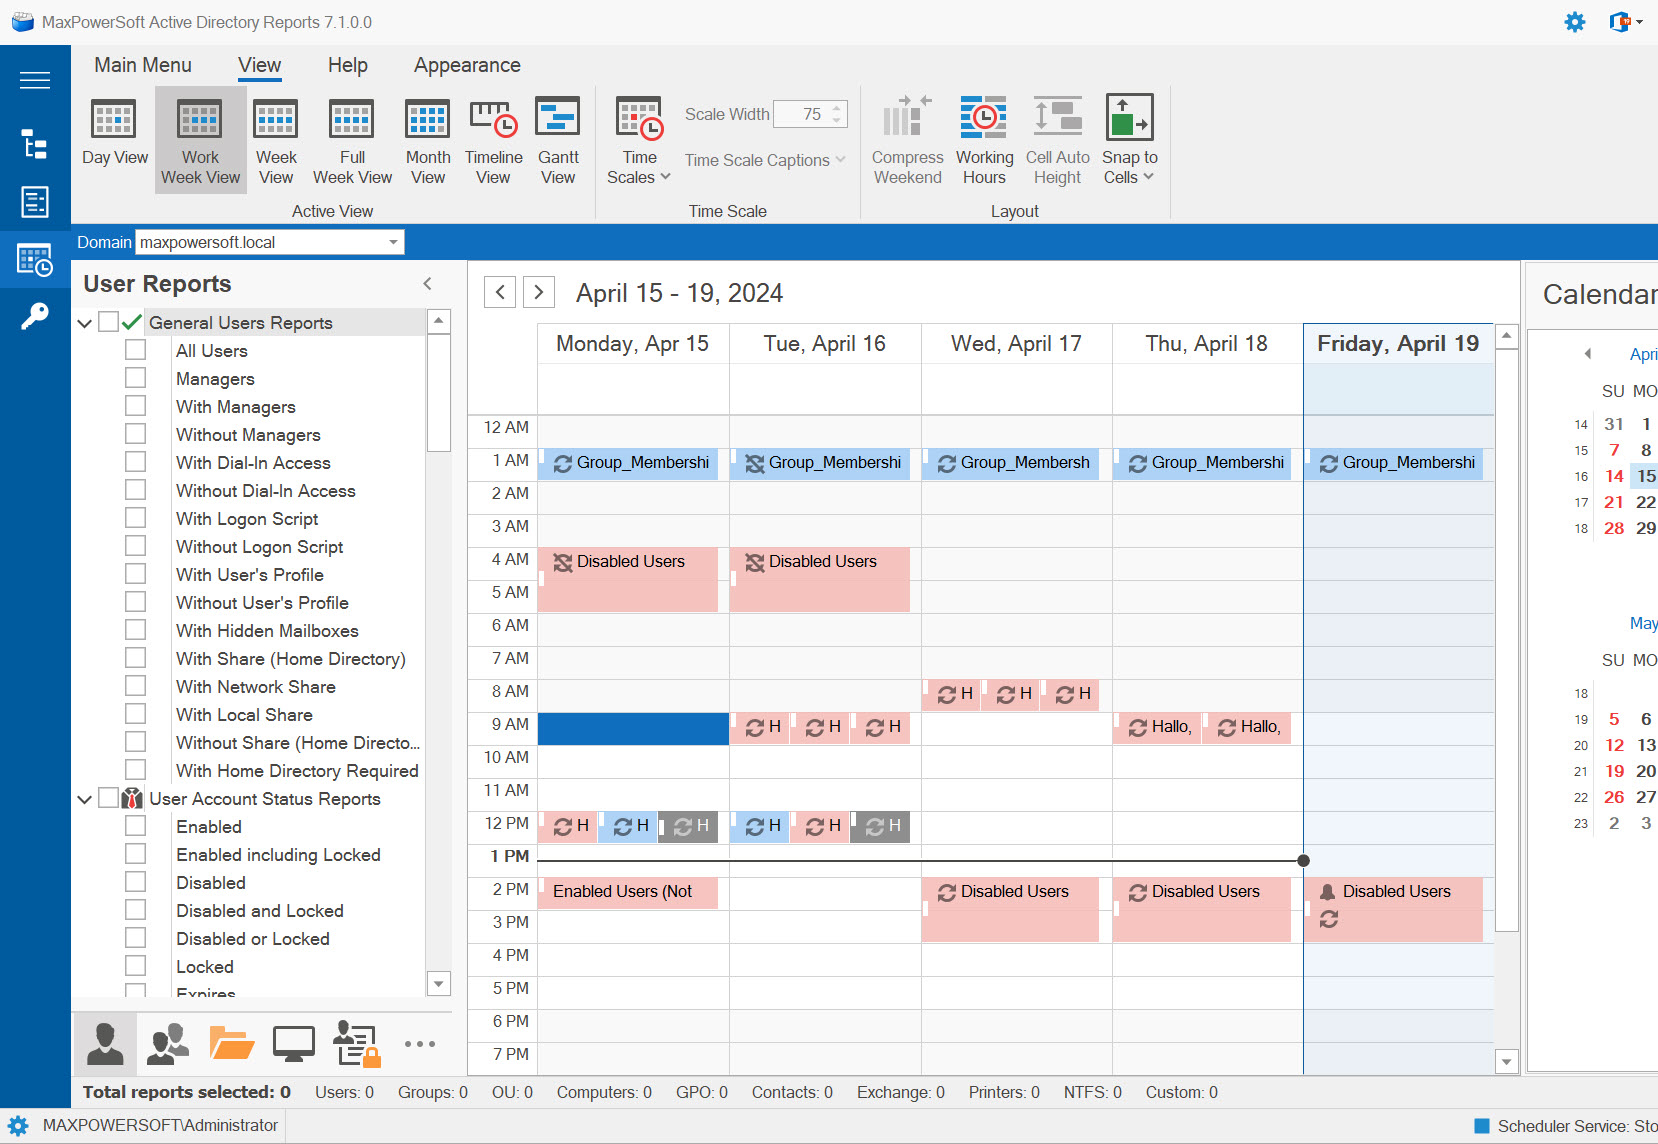
By default, the Scheduler view is set to the Work Week. You can switch to a different view: Day, Work Week, Calendar Week, Month, or Timeline.

The Day view presents the calendar date of today or any selected day.
The Work Week view offers a focused perspective on the weekdays, typically from Monday to Friday.
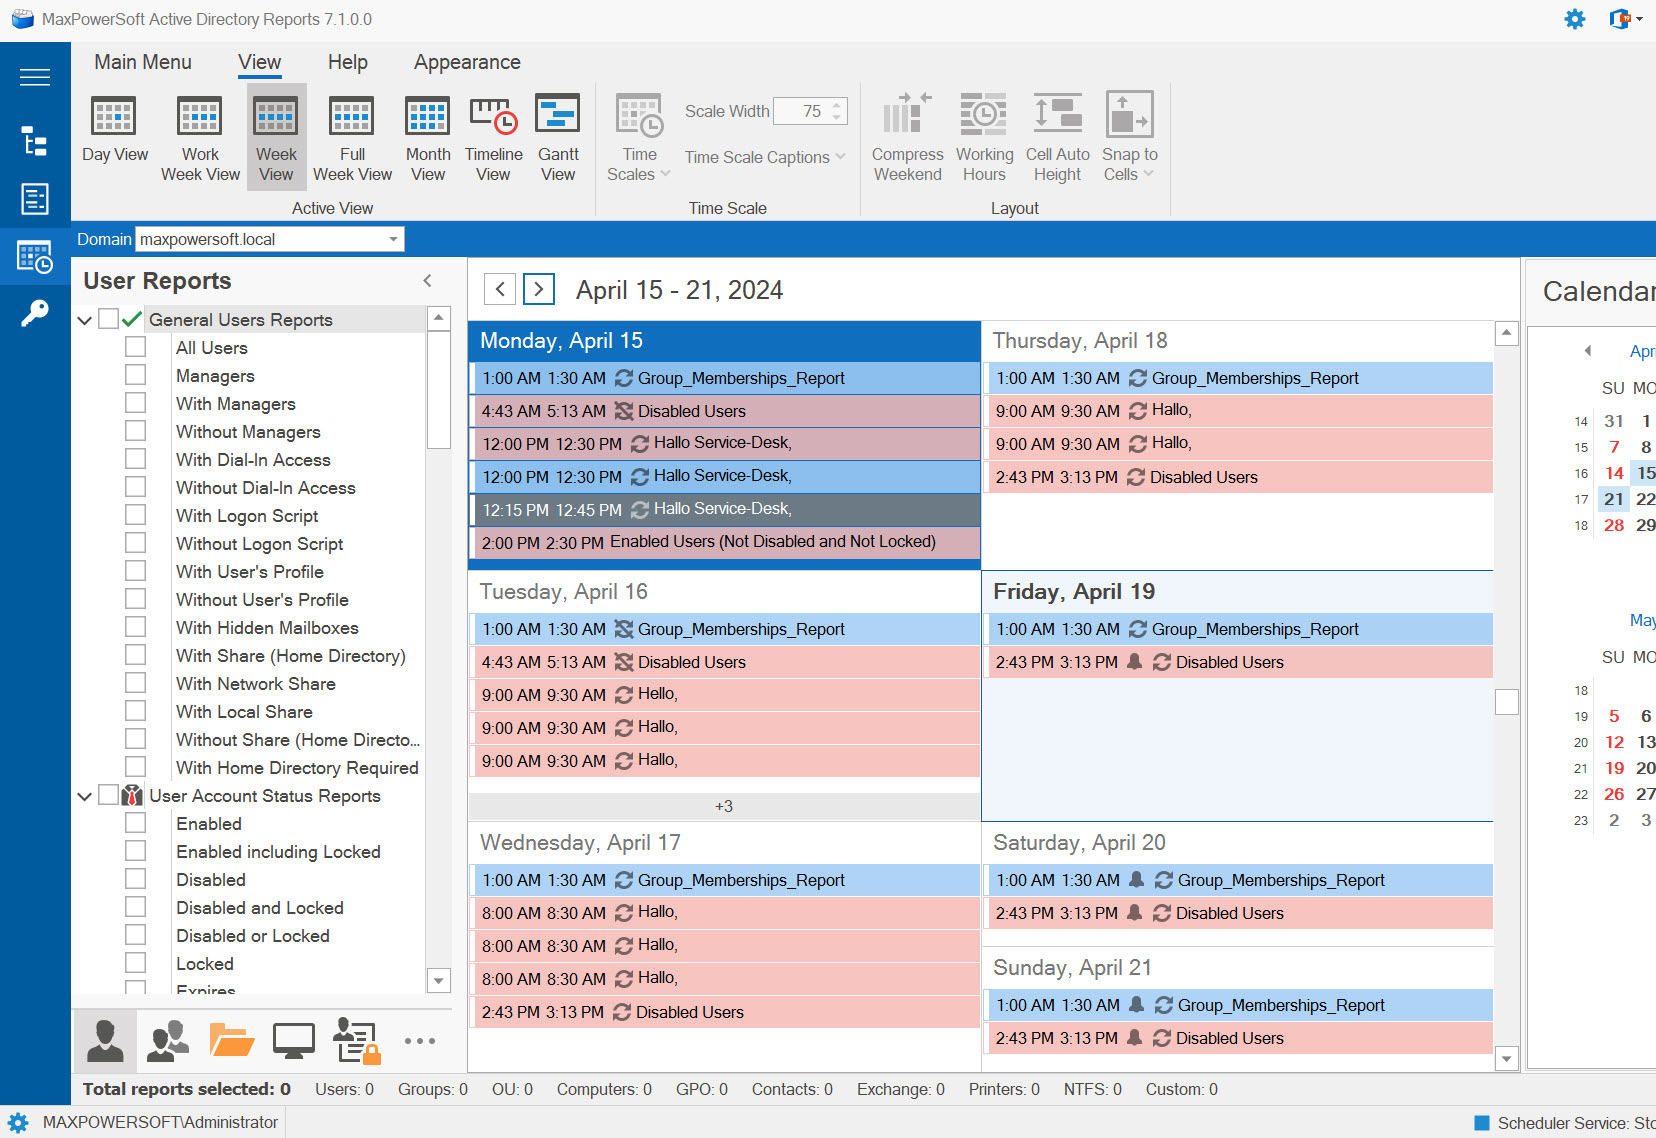
The Week view provides an overview of the entire week, from Sunday to Saturday.
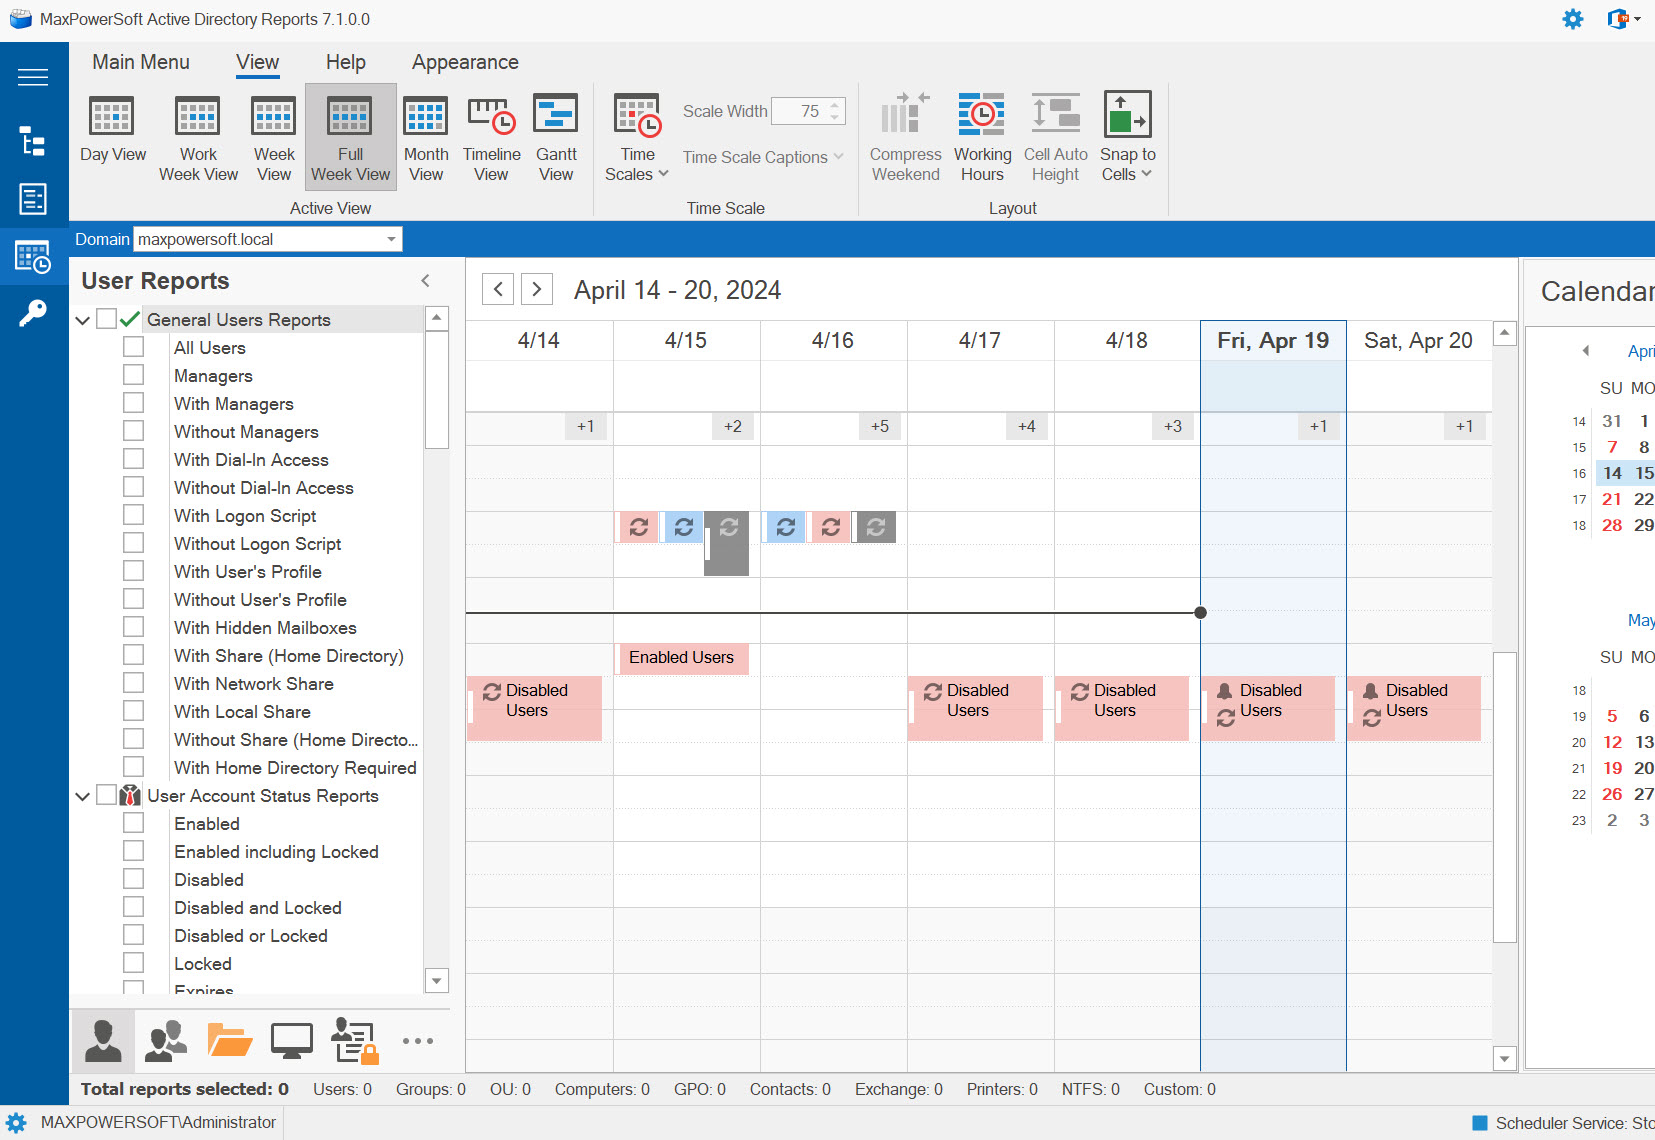
The Full Week view provides a comprehensive display of all seven days.
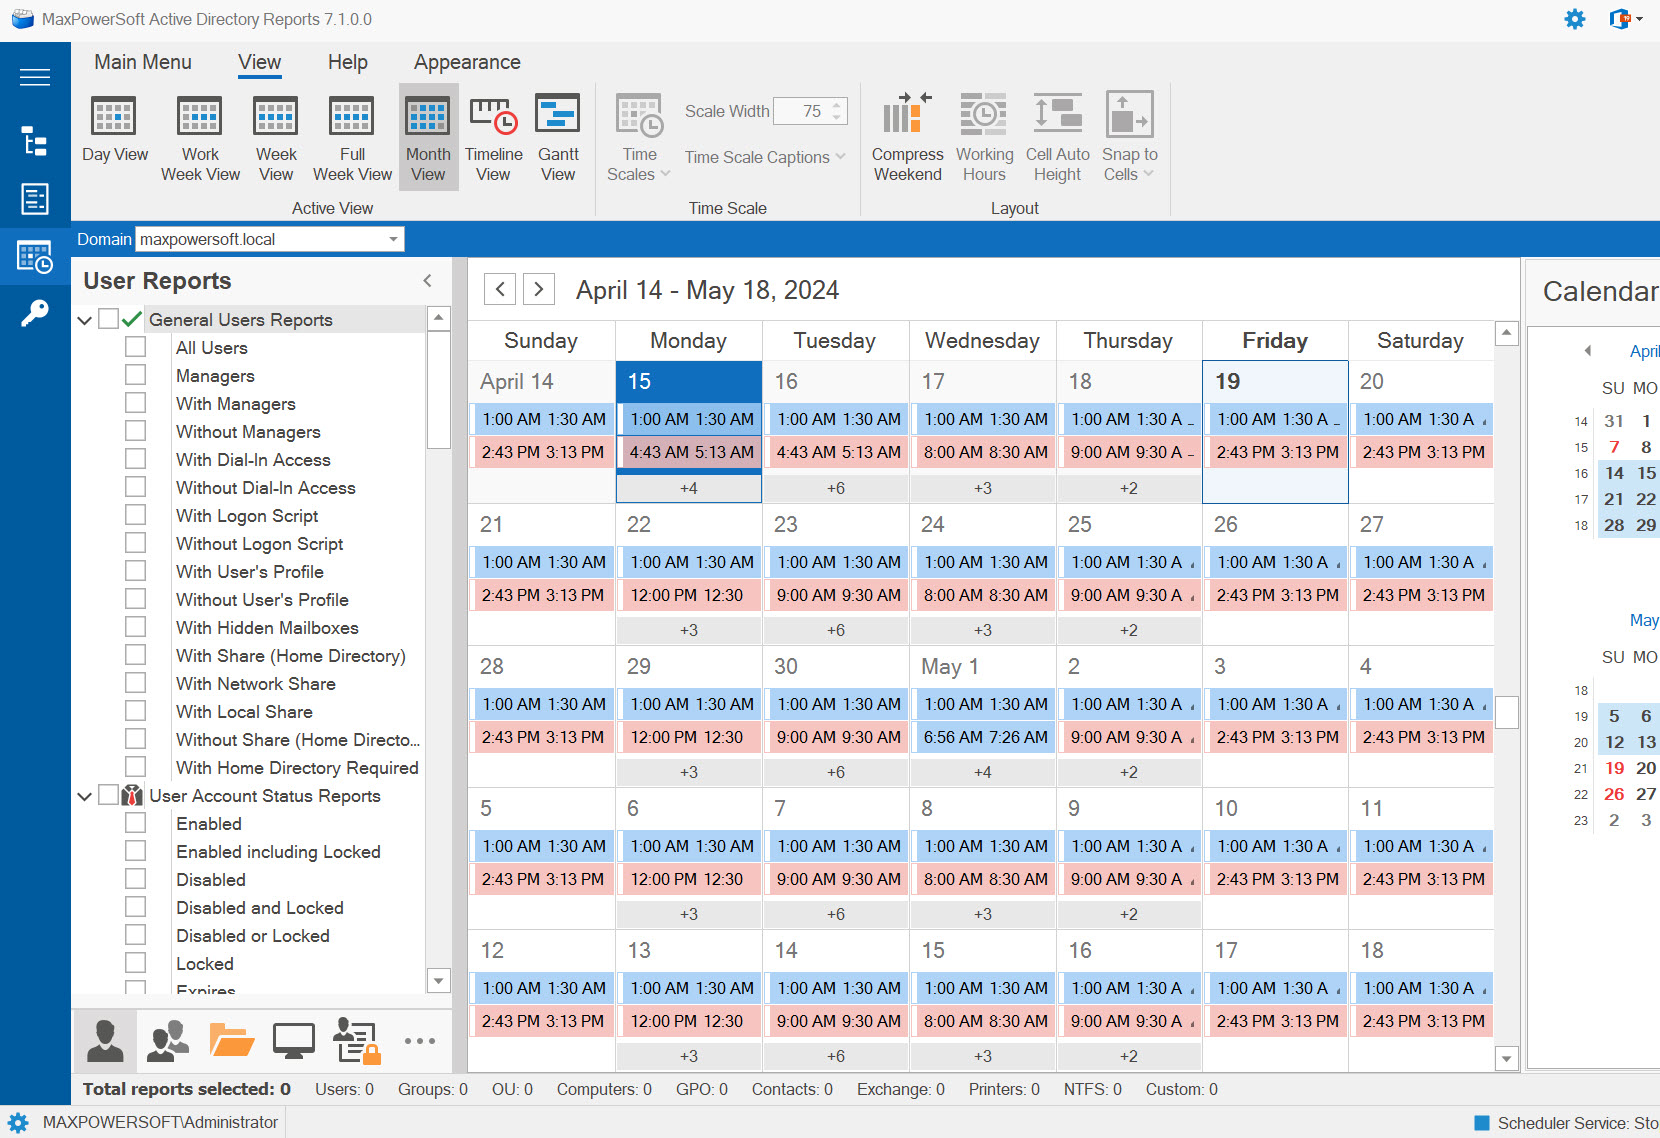
The Month view presents a concise display of an entire month's calendar.
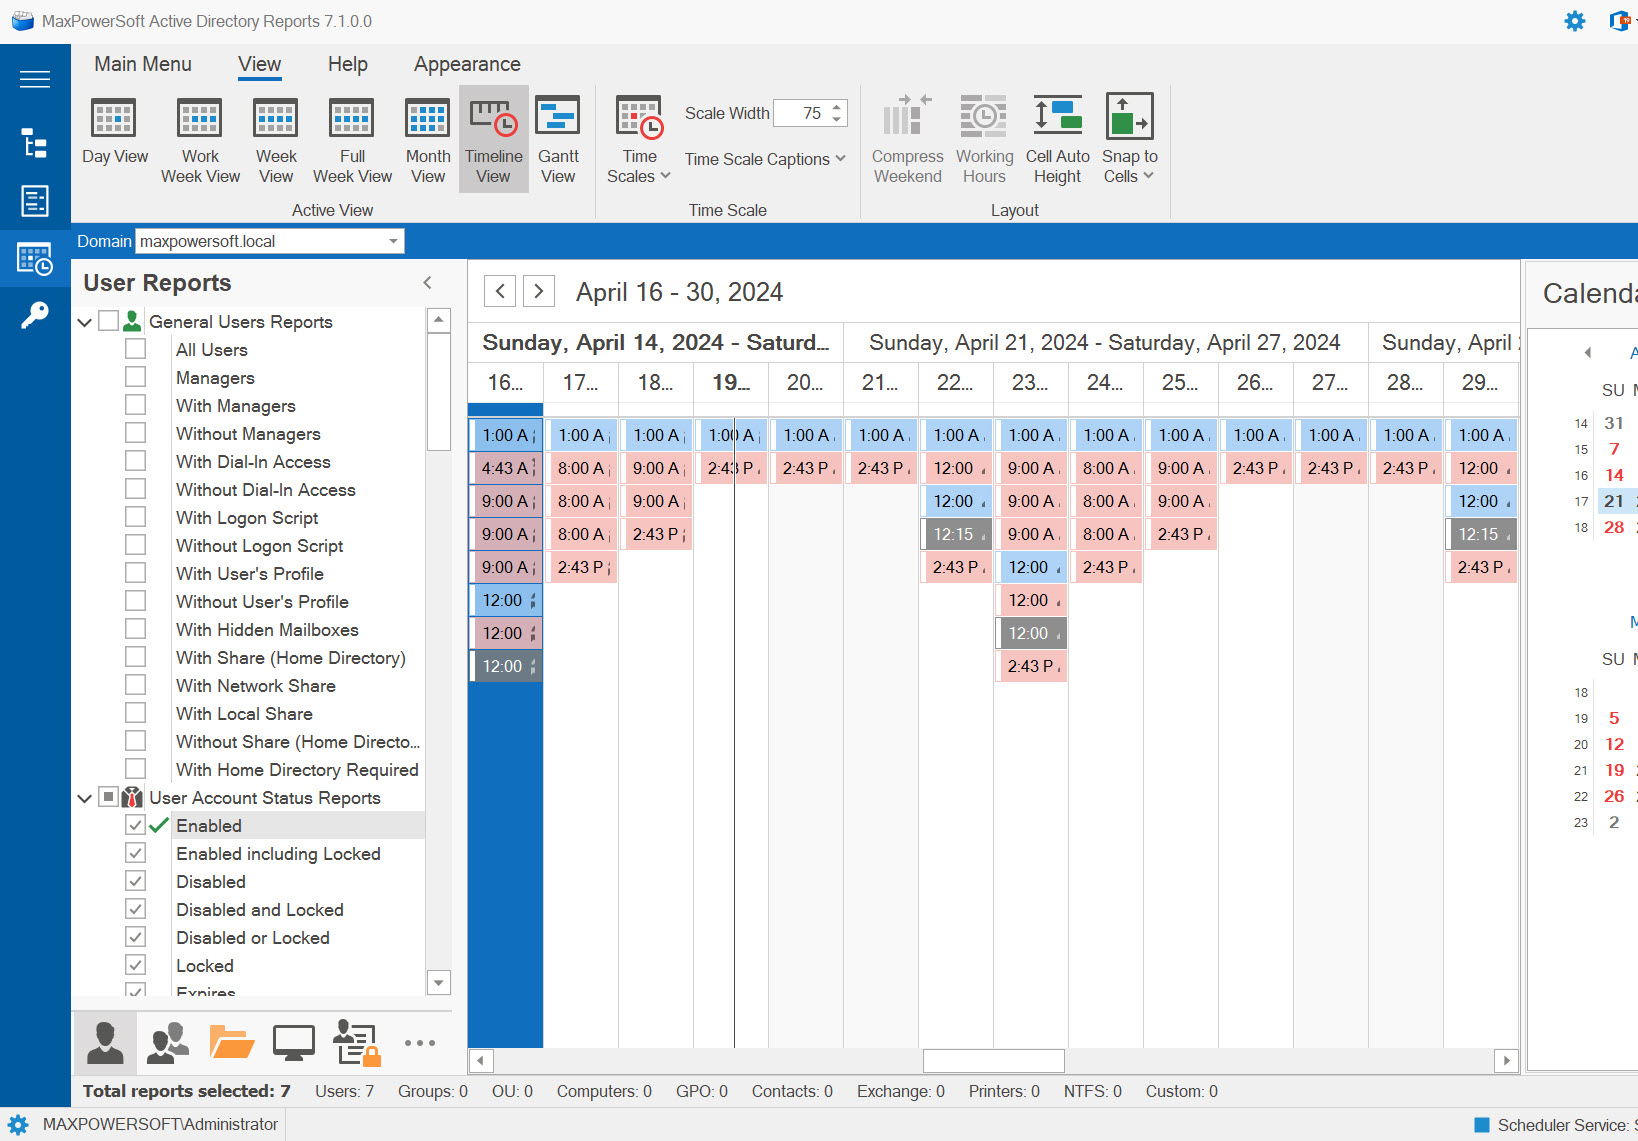
The Timeline view provides a visual representation of your scheduled jobs along a chronological timeline.
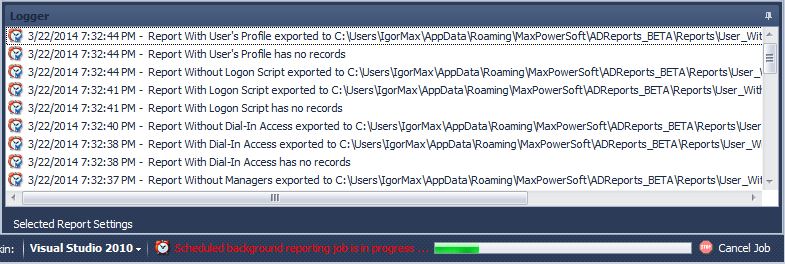
Monitor Running Jobs
During the execution of a scheduled job, the Logger window will provide real-time updates on the status of each individual report. The status bar will indicate the overall status of the scheduled job. Should you wish to halt or cancel the job, click on the Cancel Job button on the status bar.