How to Preview, Print or Email a Report
Open Print Preview
Before printing or emailing your report, you have the option to preview it. Once the report is ready and loaded, click the 'Print Preview' button found in the Report Menu.
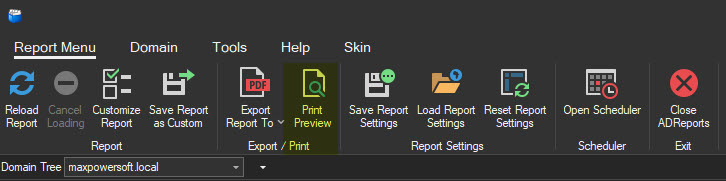
Preview Window Options
The Print Preview window will appear.
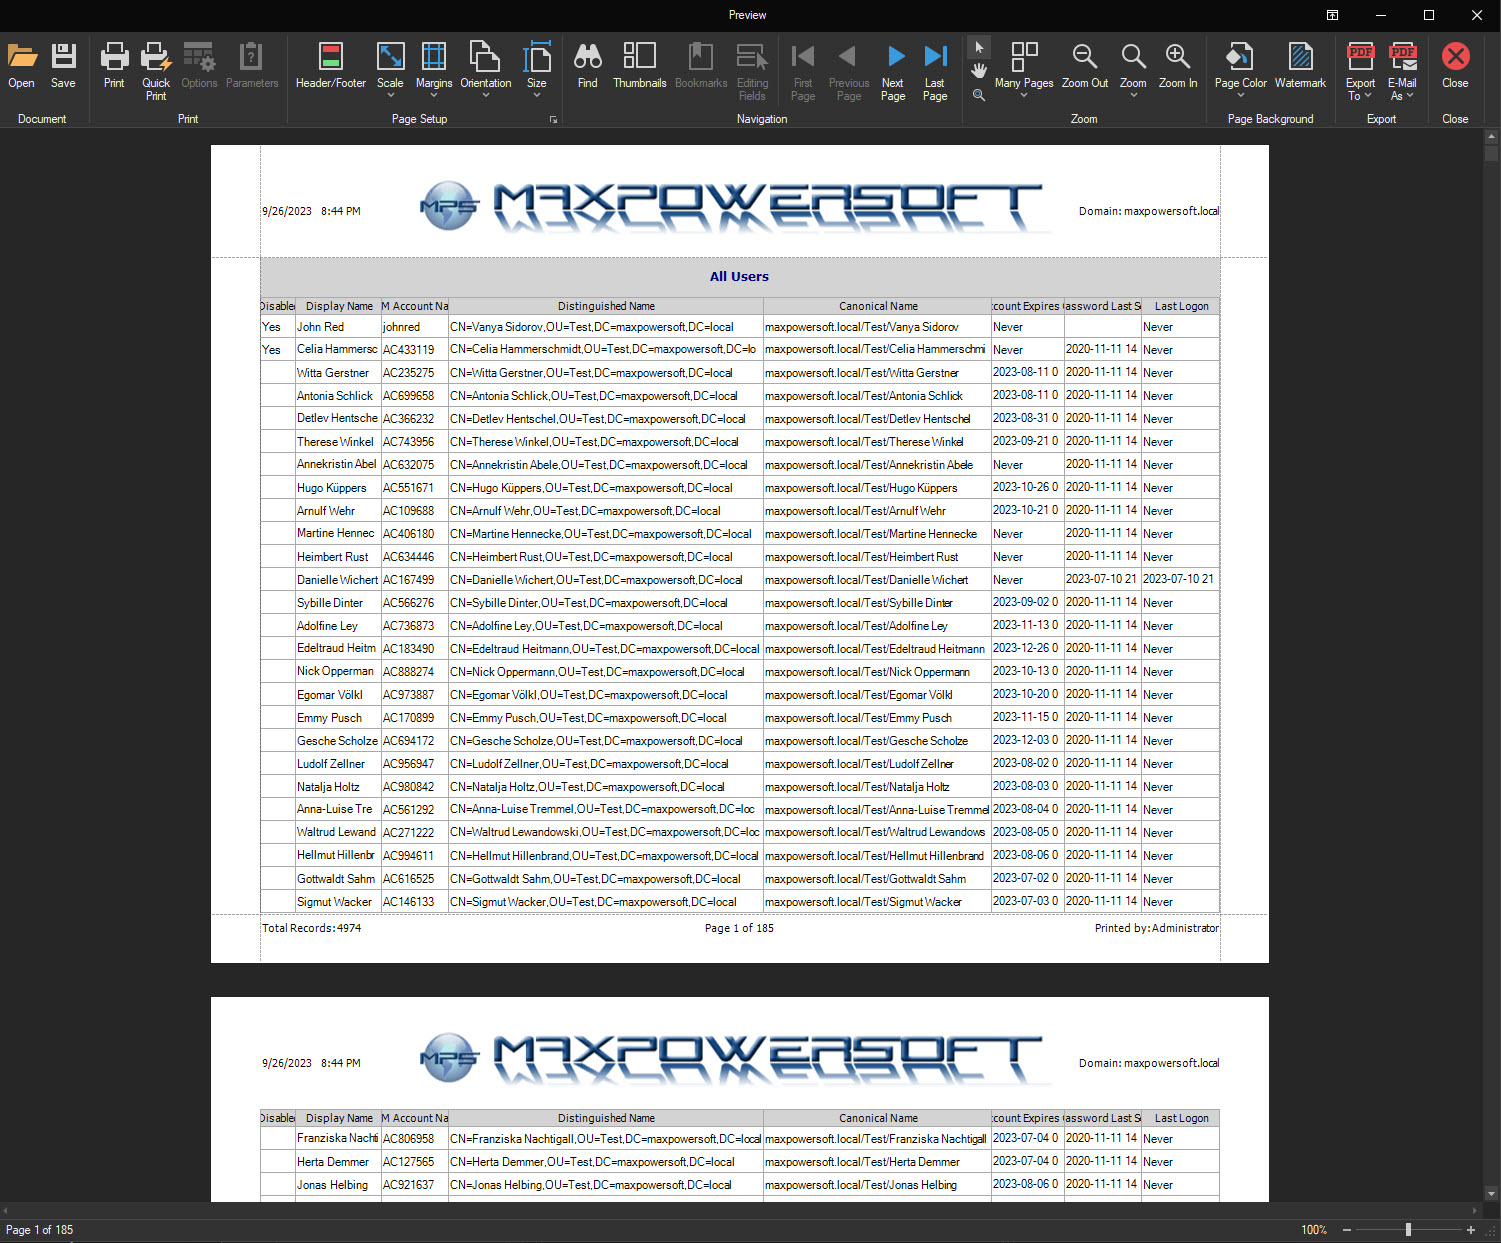
In the Print Preview window, you have a variety of options at your disposal:
- Save the current report view for future reference.
- Opt for either a standard print or a quick print of the report.
- Customize the report's header and footer, including details like the print date and time, total records, page numbers, the person who printed the report, and even add a header image.
- Adjust the scale, margins, orientation, and size to your liking.
- Modify the page color to suit your needs.
- Insert or update a watermark for added personalization.
- Export the report in multiple available formats.
- Send the report via email using the default email application installed on your system.
Print the Report
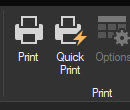
To print a report, click the 'Print' button in the Print Dialog. If you'd like to send the report directly to the default system printer without any further confirmation, choose the 'Quick Print' option.
Email the Report
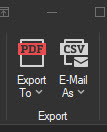
To email a report, click the 'E-Mail As' button located in the Export section of the ribbon menu. The report will then be converted to your chosen file format, and your default email client will open automatically (if one is installed) to facilitate sending the report.