How To Remove AD Reports
How to do a clean uninstall of AD Reports to resolve installation issues or prepare for a fresh install.
To do this:
- Ensure that the AD Reports Scheduler Service is not running as described below. This service needs to be stopped to prevent any conflicts during the uninstallation process.
- Uninstall AD Reports from the Control Panel. This step removes the main application files but may leave behind some residual files.
- Completely delete the folder
Program Files\Maxpowersoft\ADReports. This step ensures that all residual files and configurations are removed, preventing any potential conflicts or issues during the reinstallation.
After completing these steps, you can proceed with a clean install. This fresh installation should resolve any issues you were experiencing.
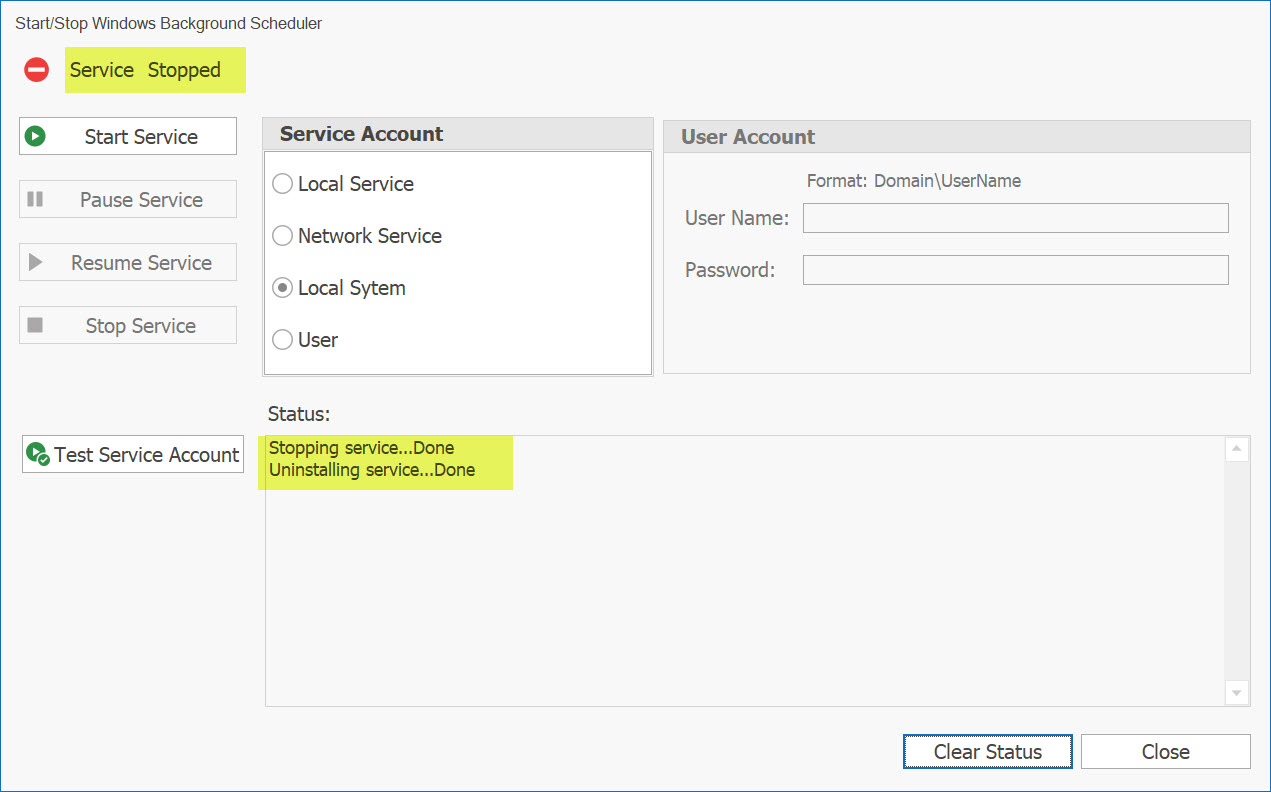
Stop the Background Scheduler Service
Before proceeding with the uninstallation of the current version, please ensure that the background Scheduling service is not running.

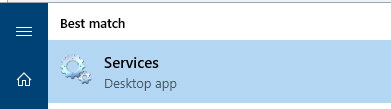
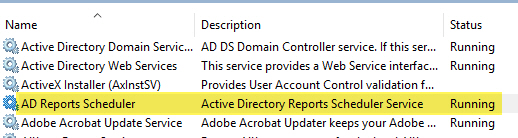
Also, you can verify this by opening the "Services" desktop application and search for "AD Reports Scheduler".
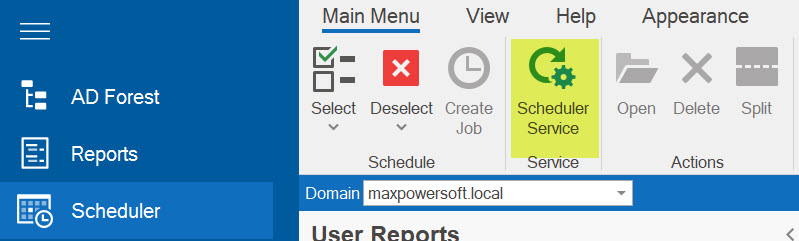
To stop the service from AD Reports, either click on the Scheduler Service icon in the bottom right corner of the application or select the "Scheduler Service" button from the Scheduler section.
In the Scheduler Service window, check the status of the service. If it shows "Service Running" and the Stop Service button is enabled, you will need to click on the Stop Service button to halt the service.
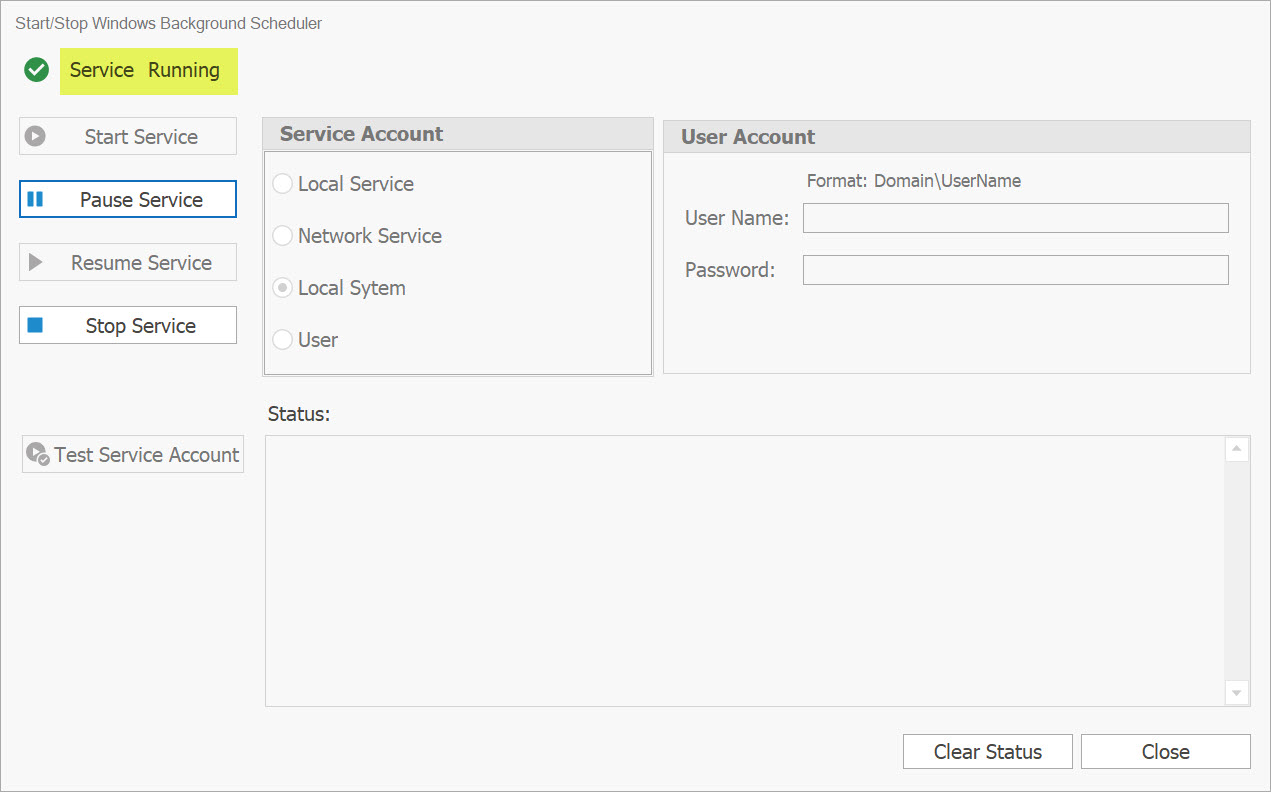
Click on the Stop Service button and patiently wait until the service is successfully stopped and uninstalled.
Uninstall AD Reports
At this point, it is safe to proceed with uninstalling AD Reports. Open the Control Panel, navigate to "Programs and Features", locate AD Reports in the list, and click on the "Uninstall" button.

Clean Residual Files
Delete the Program Files\Maxpowersoft\ADReports folder completely. This step removes all residual files and configurations, preventing any potential conflicts or issues during reinstallation.