- Install AD Reports
- Uninstall AD Reports
- Register AD Reports
- Run a report
- Create Custom Reports
- Use Report Wizard
- Apply LDAP Filter to other Reports
- Save Reports for All Domains
- Load User Membership
- Load Group Members
- Generate a report: Users in Group
- Generate a report: Users Not in Group
- Run a report with not-replicated attributes
- Export a report
- Preview, Print, Email
- Add, Edit Domain
- Update Domain Credentials
- Schedule Reports
- Use Scheduler Service
- Test Scheduler Service
- Exclude Domain Controllers
- Add Company Logo
- Set Email Settings
- Save and Load Report Settings
- Enable High DPI Support
How to use Report Wizard
With the built-in Report Wizard of AD Reports, you have the capability to modify any existing report or customize it and save it as a new custom report. Simply right-click on the report from the report tree and choose the Customize... option to begin the customization process.
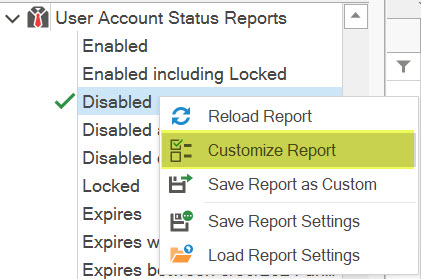
For reports that have been loaded, you have the option to select the same item from the grid's pop-up menu.

Alternatively, you can also select the same item from the toolbar.

The Report Wizard window, consisting of six pages: Search Root, LDAP Filter, Attributes, Membership, Apply Settings and Reset Settings will be displayed.
Some pages will not be visible for some report types. For example Membership page will not be visible for Printer and NTFS reports.
1. Search Root Settings
In this page, you can select the search root, which represents the starting container for the search process of the selected report. The search root is set to the selected domain by default.
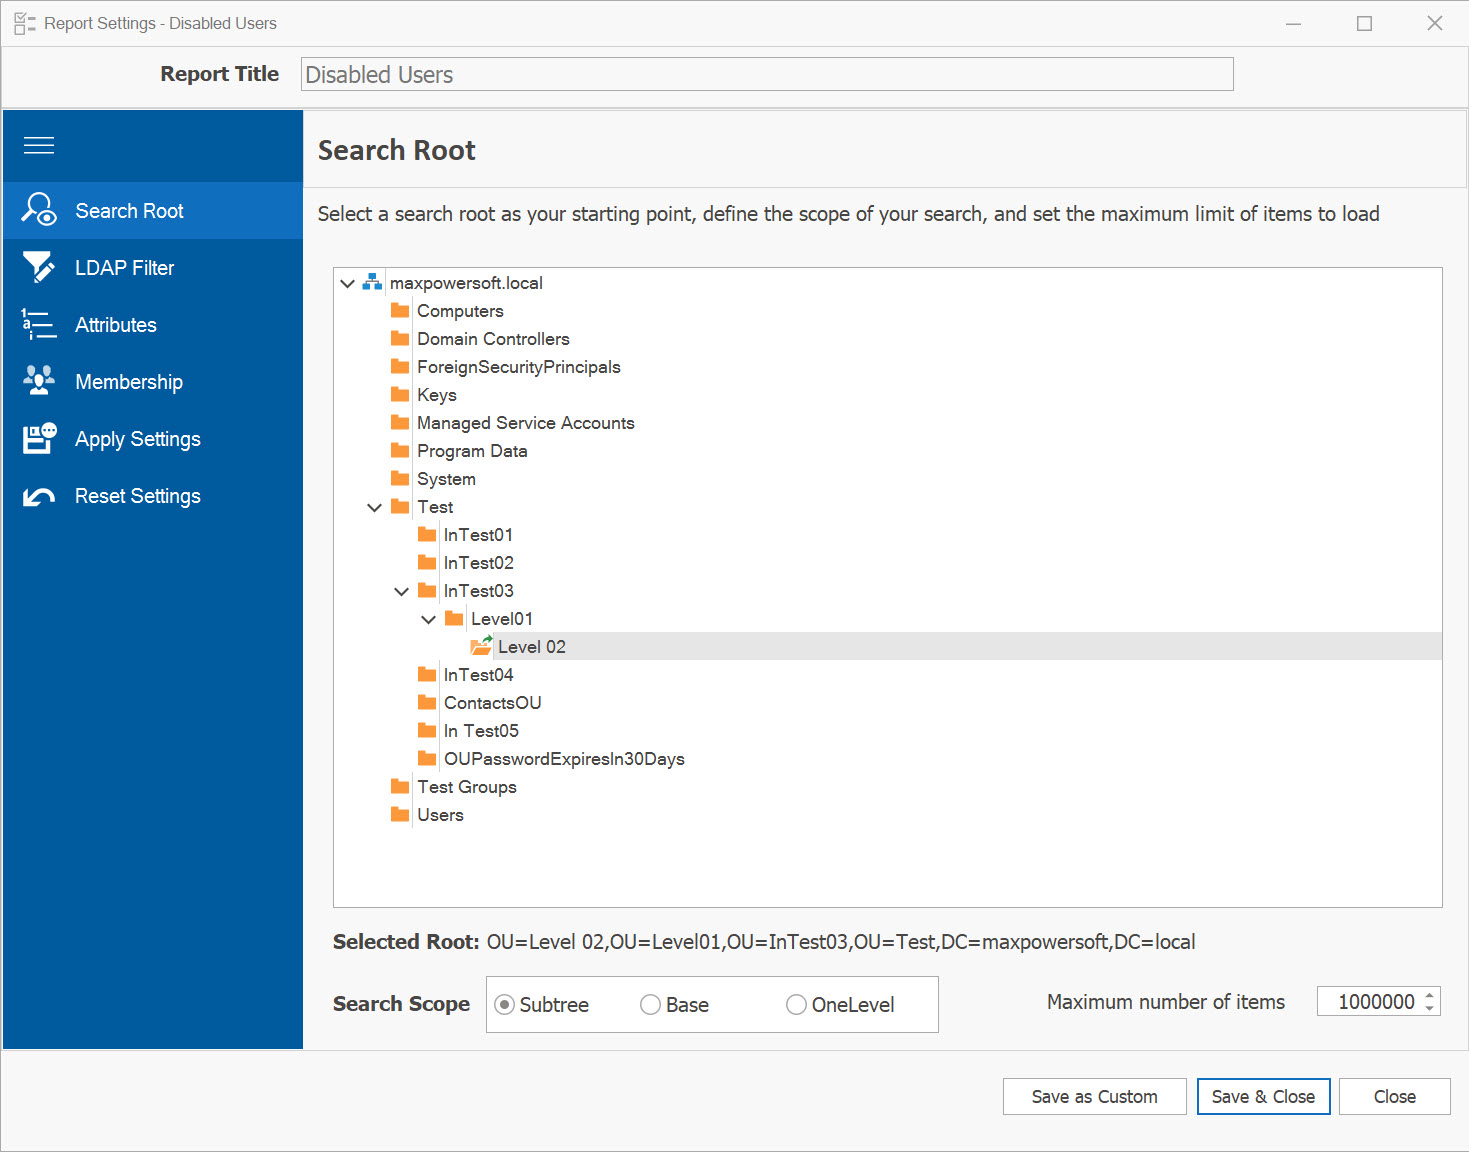
Underneath the Search Root tree, you can make a selection from the available search scopes, which include Subtree, Base, or One Level. The default selection is set to Subtree.
Within this page, you can also set a limit on the maximum number of objects to be loaded.
2. LDAP Filter Settings
In this page you can craft your custom LDAP filter query and incorporate it into your report. Additionally, you have the option to save your LDAP query for future use in other reports. You can also include your own custom LDAP filters in text format.
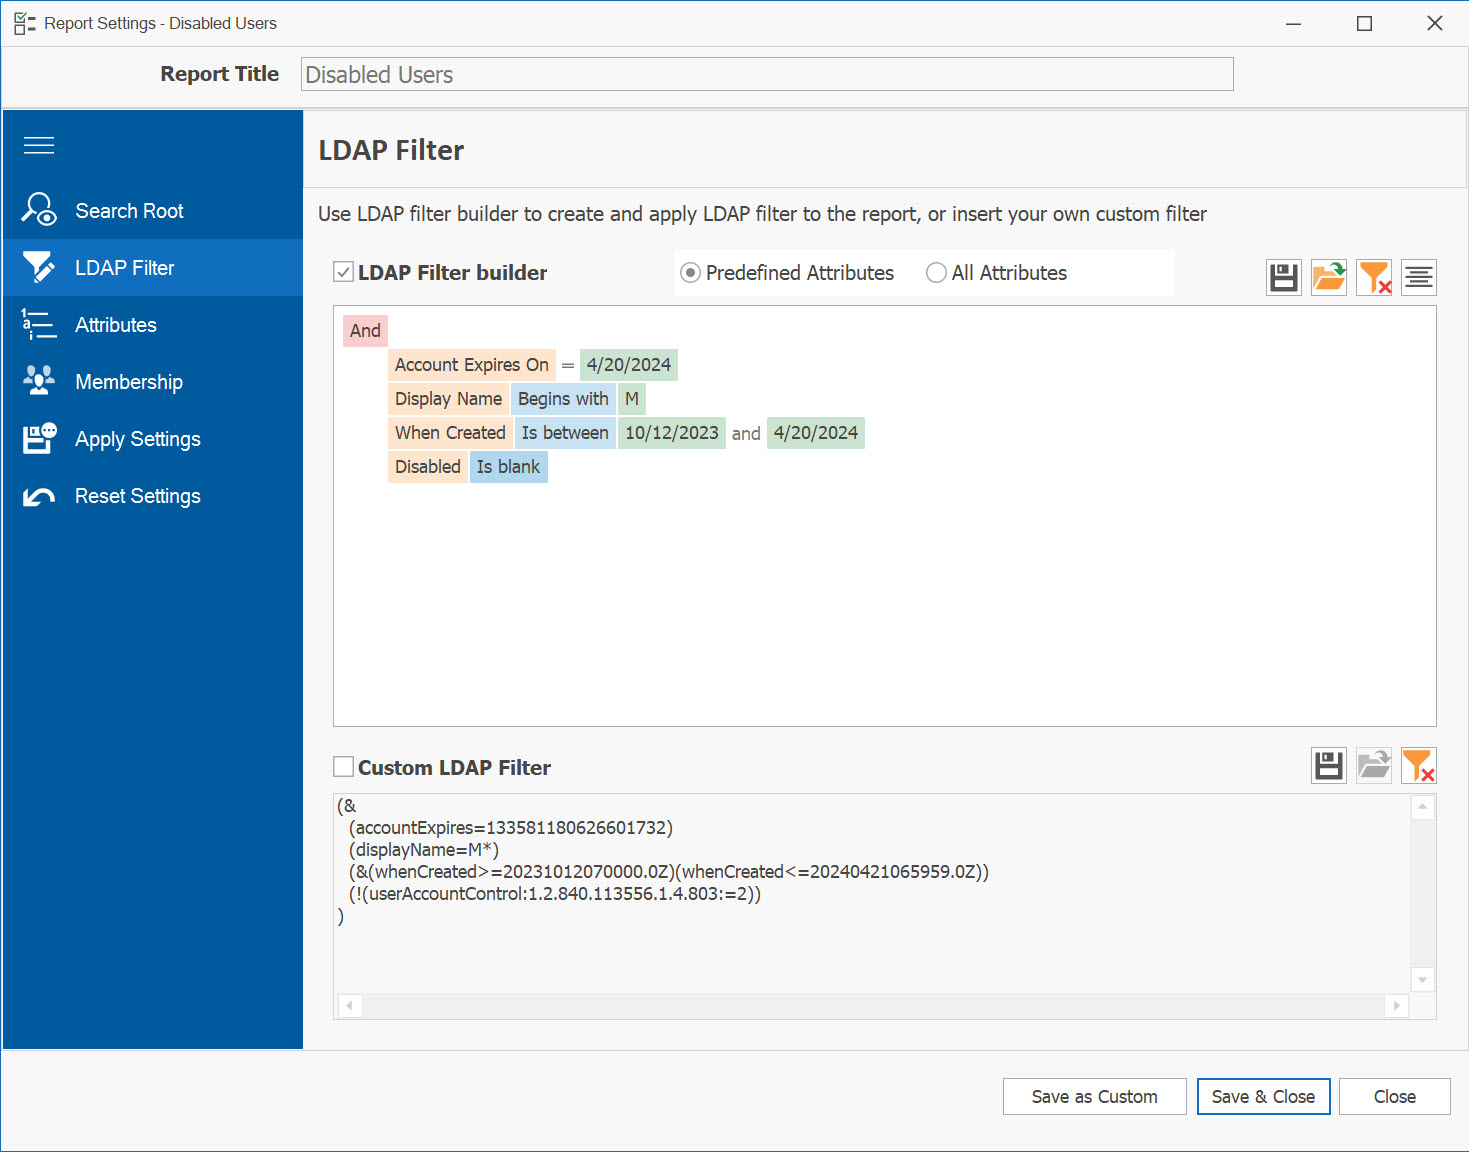
To utilize the built-in LDAP filter builder, ensure that the Use LDAP filter checkbox is checked.
- Click on the small plus sign next to the condition group to add a filter condition line.
- This line comprises three components: the attribute name, the condition, and the value. The default attribute displayed will be the first one in the list of available attributes.
- To modify it, click on the attribute name and select the desired attribute from the list.
- Clicking on the condition will present a list of available conditions specific to the selected attribute.
- Finally, enter the value in the corresponding text box. Your filter will be automatically converted into the LDAP filter string.
To use your own personal custom LDAP filter, check Custom LDAP Filter checkbox and input or paste your LDAP filter accordingly.
The filter toolbar 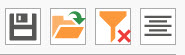 offers additional functionality such as Saving, Loading, Clearing and Formatting your LDAP filter.
3. Attributes Settings
Within this page, you have the ability to choose which LDAP attributes to load for your reports.
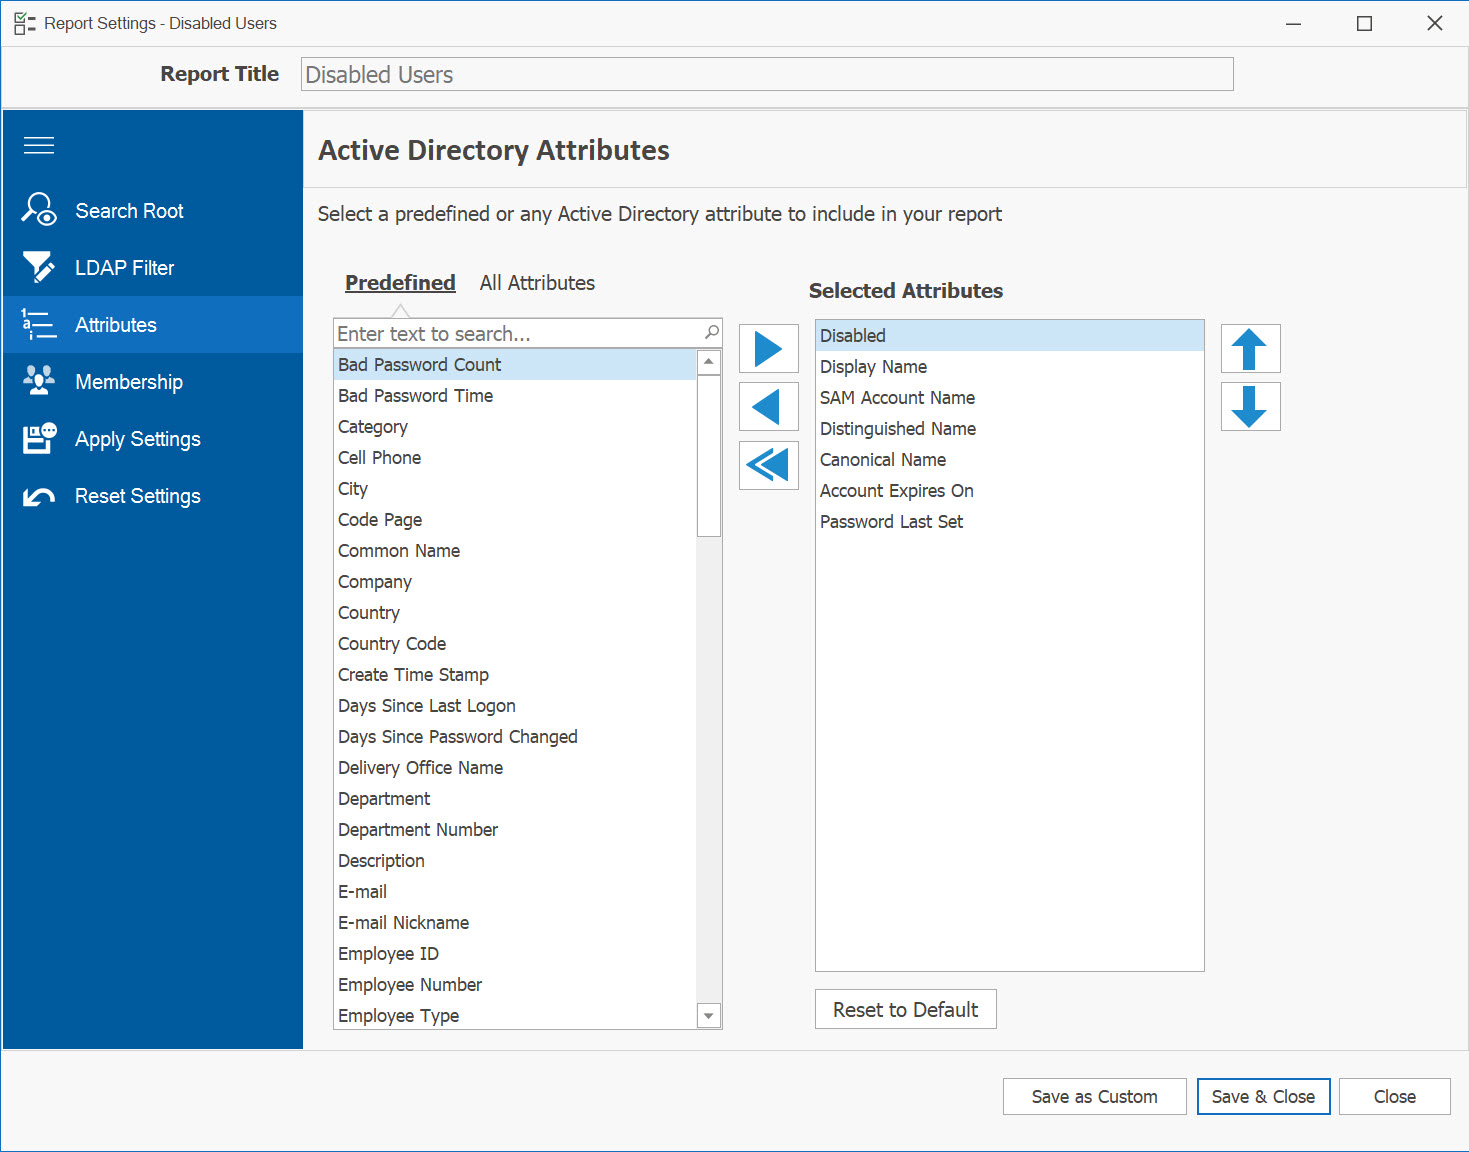
You have the option to choose any attribute from the Predefined list of attributes (which are selected by default) or switch to the All Attributes list to select any Active Directory attributes. By clicking the Right Arrow button, the selected attributes will be moved to the Selected Attributes list on the right. You can also rearrange the order of the selected attributes in the report by clicking the Up and Down arrows.
The Predefined Attributes list includes commonly used attributes, whereas the AD Attributes list contains all other LDAP attributes that are specific to the selected report category (e.g., user, group, etc.).
If you want to start fresh, you can click the Reset to Default button to reload the list with preselected attributes.
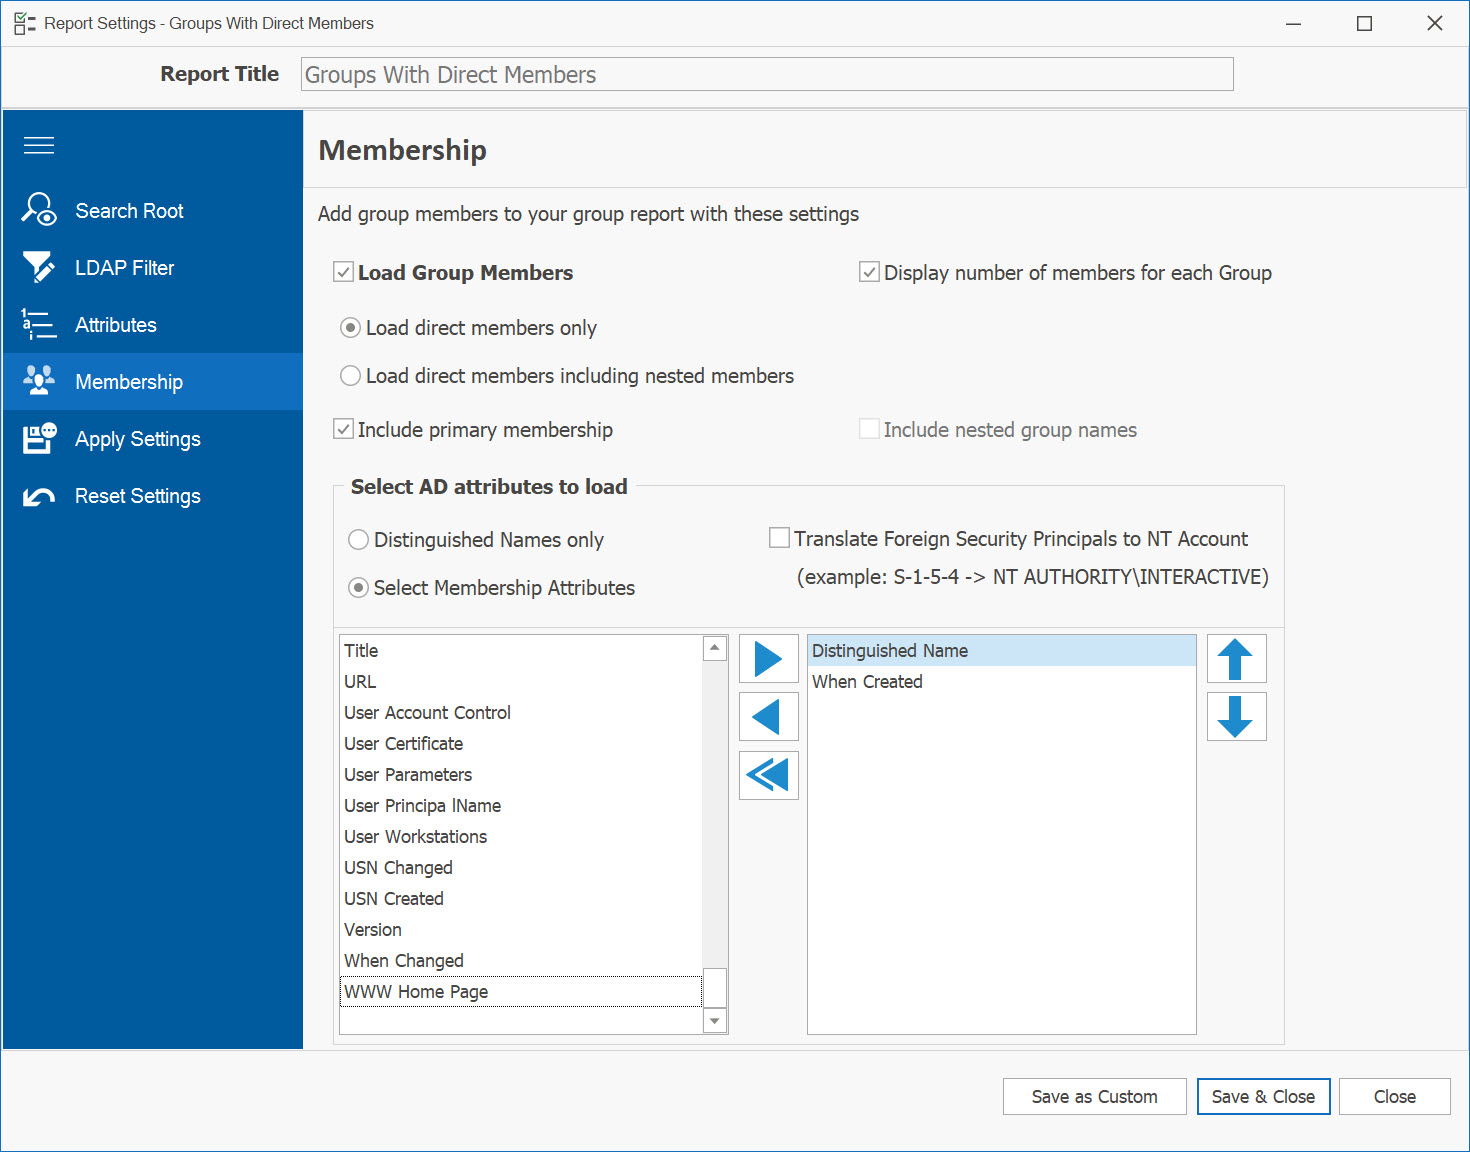
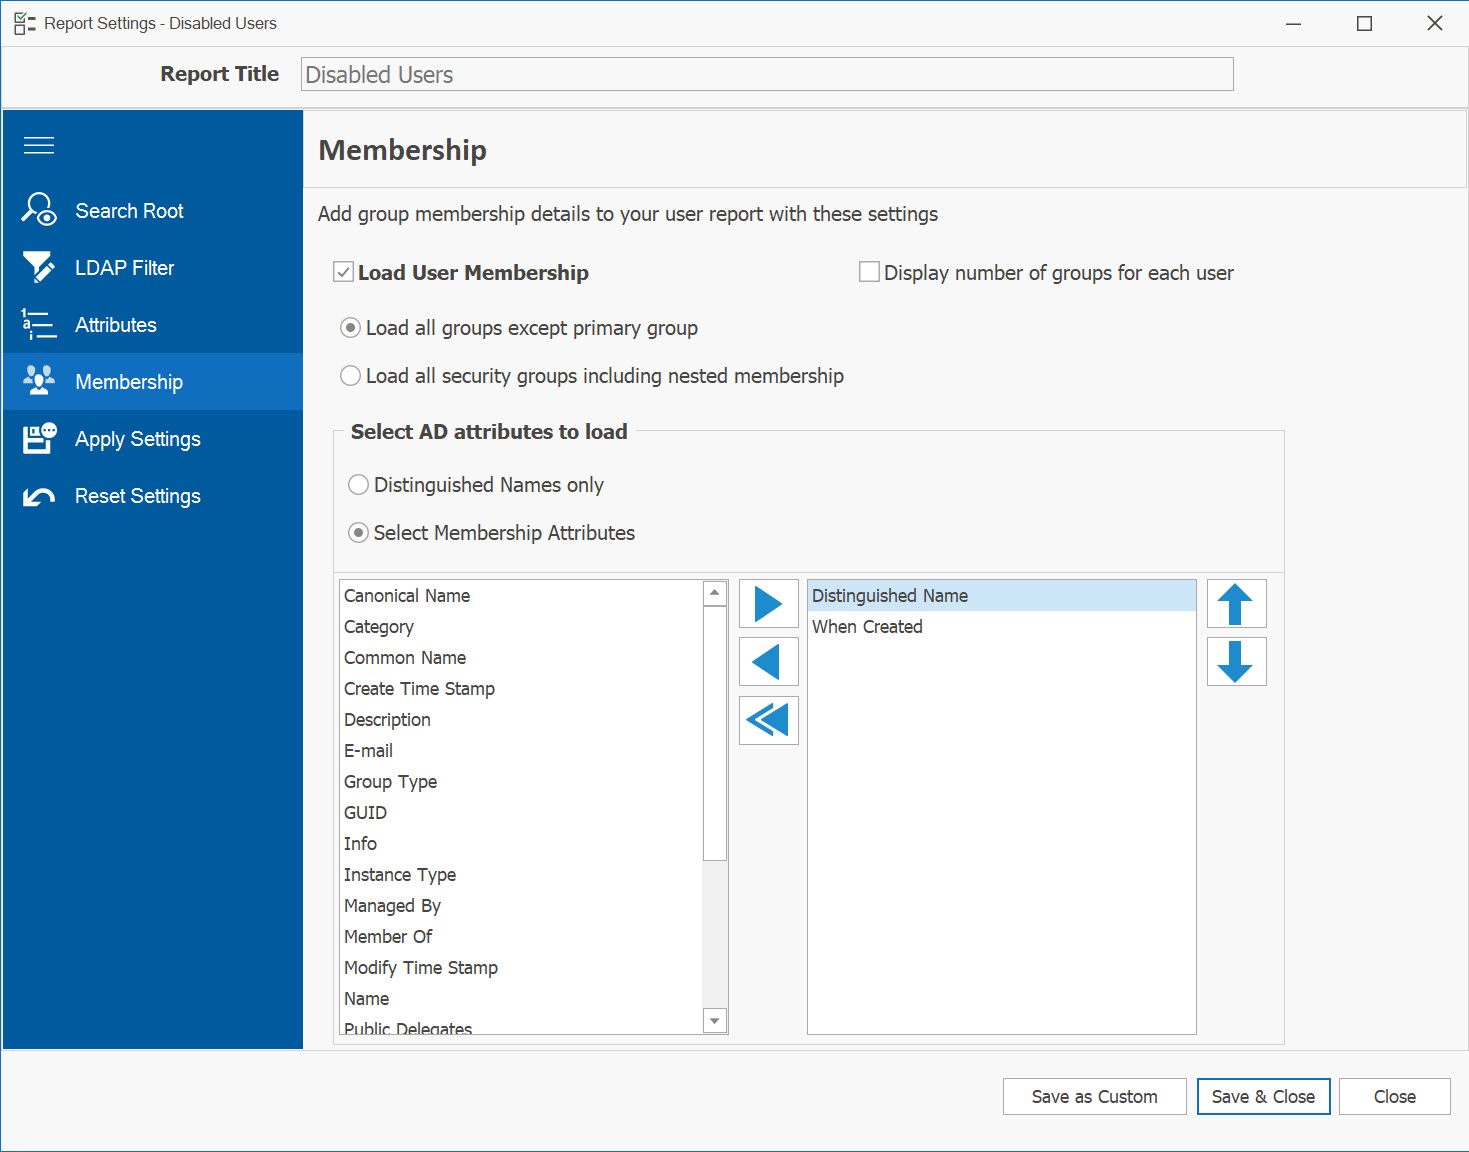
4. Membership Settings
Within this page, you have the capability to include Group Members or User Memberships in your report. By default, this option is disabled. To activate it, simply check the Load Group Members checkbox (or Load User Membership for User reports).
Group Members Settings
User Membership Settings
Within this section, you have the ability to specify whether you want to load only direct members or include nested membership. For Group Members, you can also choose to include nested group names, include primary group membership, and translate foreign security principals to more readable NT Account names.
Furthermore, you can determine whether you want to load only distinguished names or select specific member attributes. If you opt for Select Membership Attributes, you can choose the columns/attributes you wish to load for your membership report.
Please bear in mind that selecting more options may result in slower report performance, as AD Reports needs to iterate through all members to gather the necessary information. The default membership settings are configured to load direct members with distinguished names only.
5. Saving Report
Multiple options are available for saving your report.
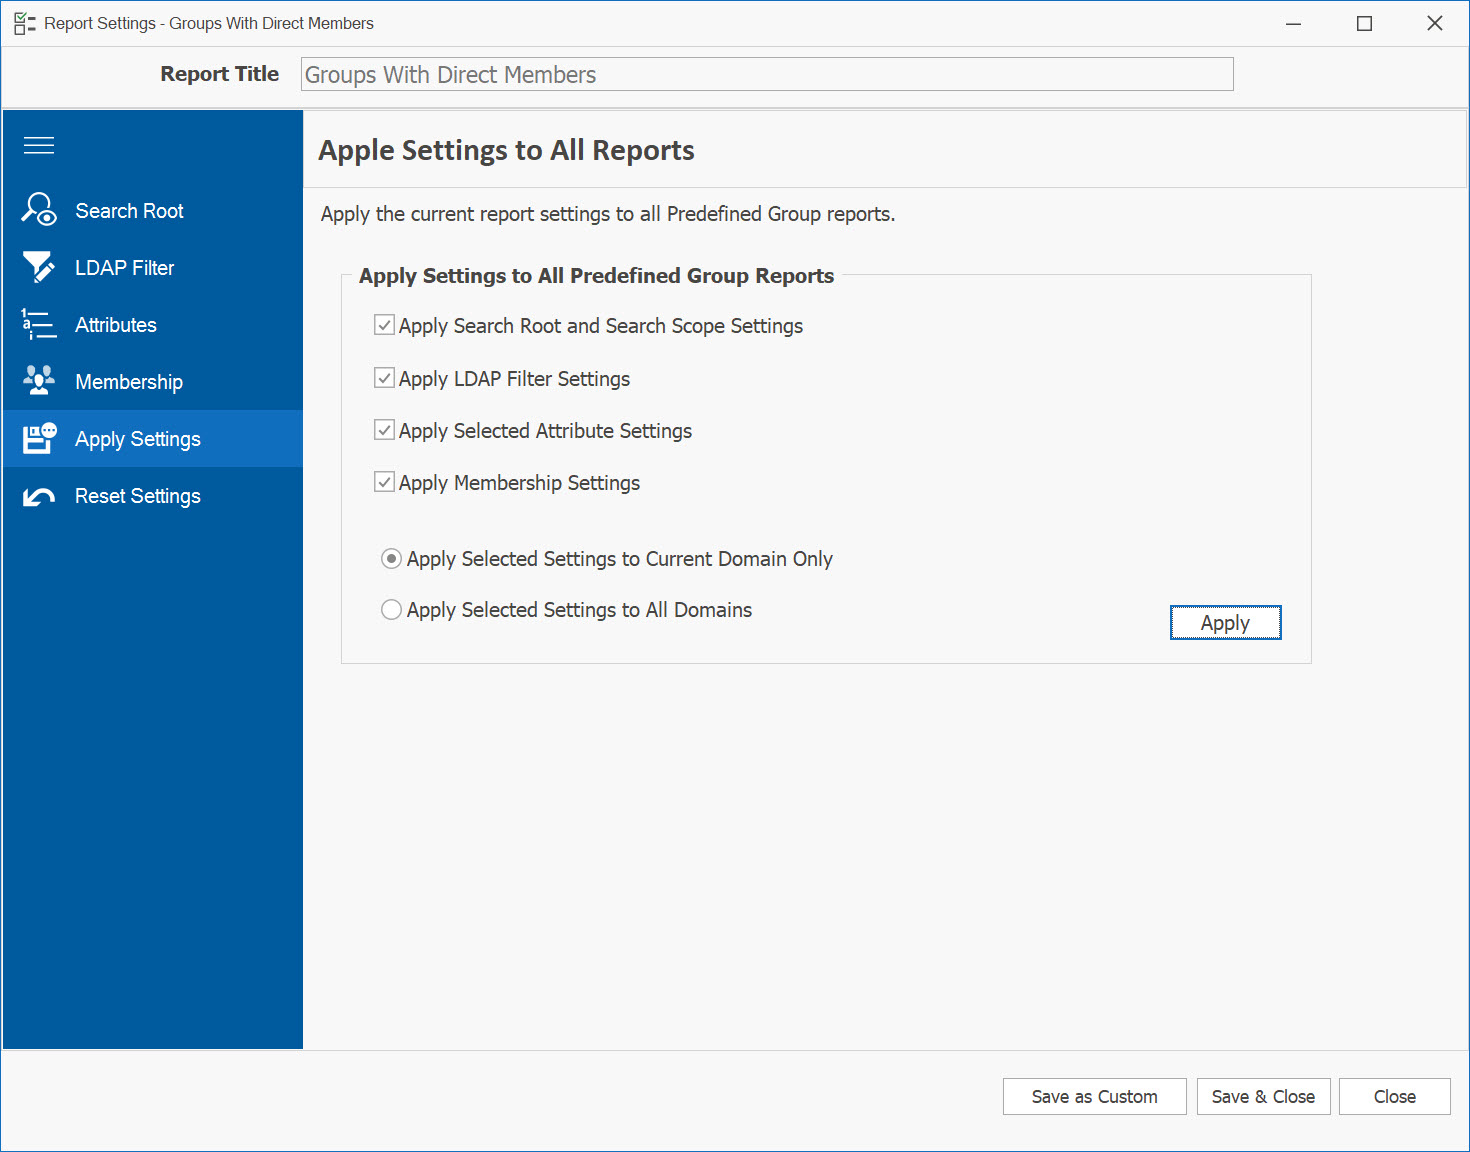
5.1. Applying settings to all reports
Once you have finished making modifications to your report, you have the option to apply these new settings to the entire report category (e.g., user, group, etc.).
In this page, you can choose which settings you would like to apply to all reports within the category.
Additionally, if you wish to make these settings available for all reports in all domains, you can select the option Apply Selected Settings for All Domains and then click on Apply button.
5.2. Updating existing report
To save the modifications made to your existing report, simply click on the Save & Close button. The report will be saved and reloaded with the updated settings.
5.3. Saving Report as Custom
An alternative option is to save your report as a Custom report by clicking on the Save as Custom button. In the subsequent pop-up window, provide a new report title for the custom report and click on Save button.
Additionally, you have the choice to save this custom report for all domains by selecting the Save this report for All domains option. The report will then be reloaded and saved under the Custom reports tab.
We highly recommend utilizing this custom report option as it allows you to save numerous similar reports with different filters and settings, using your own custom report names.
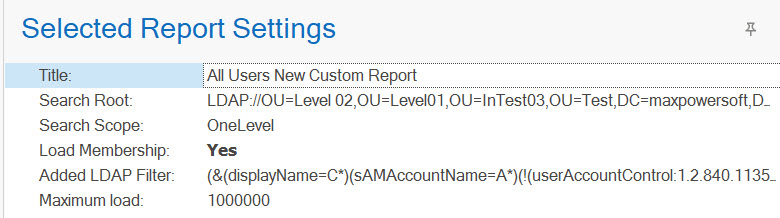
When you run your report, the current report settings will be displayed in the "Selected Report Settings" window.
If you have any further questions or require any assistance, please do not hesitate to contact us. We are here to help Contact us.